Mother’s Day and Father’s Day are wonderful occasions to get creative with your children and make small, personal gifts. Even as young as 1 or 2 years old, children can help with crafts—especially when it comes to gluing, dabbing, tearing, stamping, or trying to write their first letters.
On this page, you’ll find simple craft ideas for Mother’s Day and Father’s Day for toddlers. All projects are designed to be easily done with children under 3 and can be prepared quickly. You’ll also find matching templates that you can print out right away and use for your craft projects.
Crafting safely with toddlers (under 3)
Use only non-toxic materials suitable for children
Avoid small parts (or use them only under supervision)
Keep craft time short: 5–15 minutes
Protect the table and clothing (use a protective surface [e.g., newspaper, oilcloth, or craft mat], an apron, or an old shirt)
Always stay close by
You can also find an overview of our tried-and-true basic craft supplies here.
Note:
When crafting with children under 3 years old, the focus is on participating together. Small and large imperfections are part of the process and make every artwork unique.
1. Blow-up pictures
Blow-up pictures make every party colorful and exciting! Even children as young as 1–2 years old can join in—provided they can already blow through a straw. Letting the colors blend, blowing, and watching the patterns change is great fun and stimulates creativity. Be sure to plan enough time for breaks.
The technique is very simple: using watercolors and a straw, small splashes of paint are blown across the paper, transforming into unique, branching patterns around the motifs. It’s also important that the children aren’t currently sick, so that the blowing works well and is enjoyable for everyone.
Perfect for a relaxing afternoon of crafting—and a fantastic result that’s worth showing off!
Here's what you'll need:
- Template
- construction paper
- Craft scissors for adults
- double-sided tape
- Watercolors
- Paintbrush
- Water
- Straw
- We use a food-safe baking mat on the table.
- Protection for your child's clothes
- Wet wipes or a bowl of water for washing your hands
 construction paper
Affiliate links — we may receive a small commission, your price stays the same.


Here's how it works:
Attach the stencil:
Glue the stencil onto cardboard. Optionally, you can use a canvas if you want the picture to look especially nice.
Prepare the paints:
Dilute the watercolors heavily with water so they flow easily and are easy to blow on; since they dry quickly, finger paint mixed with water is a good option for younger children. It doesn’t flow as well, but it also looks very pretty.
Apply the paint:
Dab small amounts of paint onto the edges of the design with a brush.
Blowing:
Take a straw and carefully blow the paint in the desired direction. Continue step by step around the motif.
Work carefully:
The paint dries quickly—it’s best to work on small sections one at a time.
Practice:
Let the child try out the technique on a sheet of paper first before moving on to cardboard or canvas.
Let dry and remove the stencil:
Let the paint dry completely, then carefully peel off the stencil.
Paint under the design:
If paint has seeped under the stencil, a new, clean stencil can be secured with craft glue. Small traces of paint are hardly noticeable.
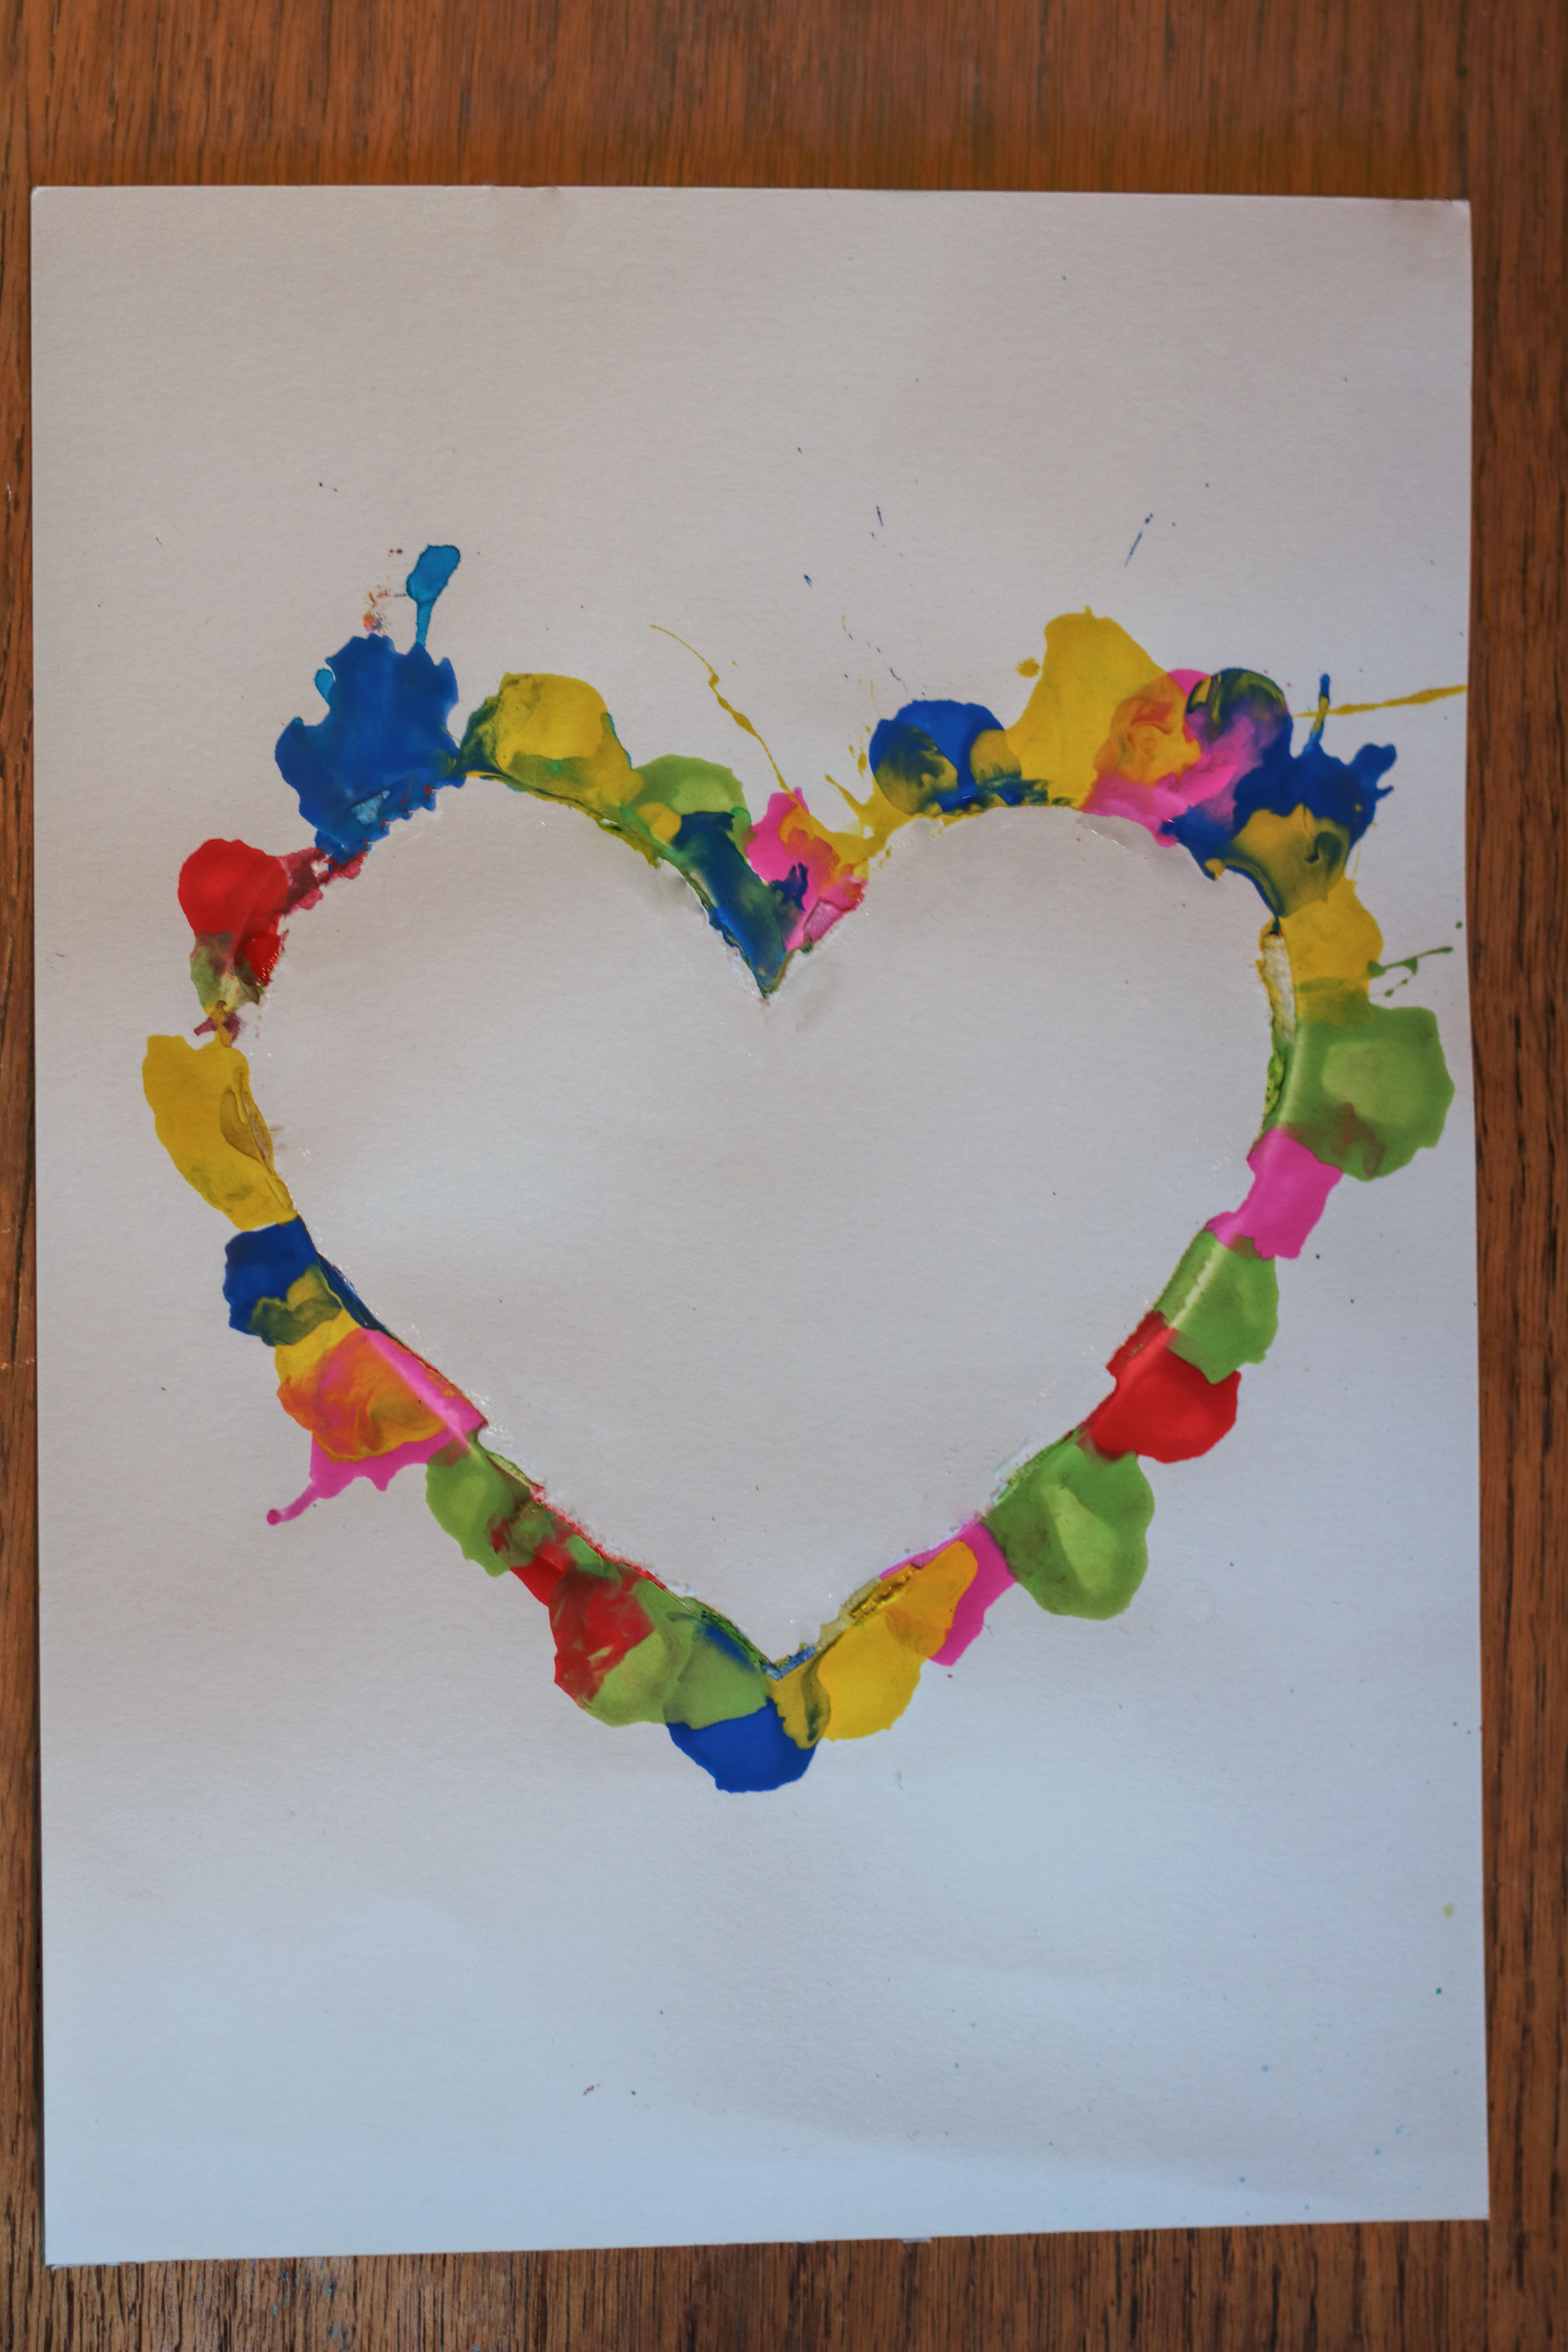
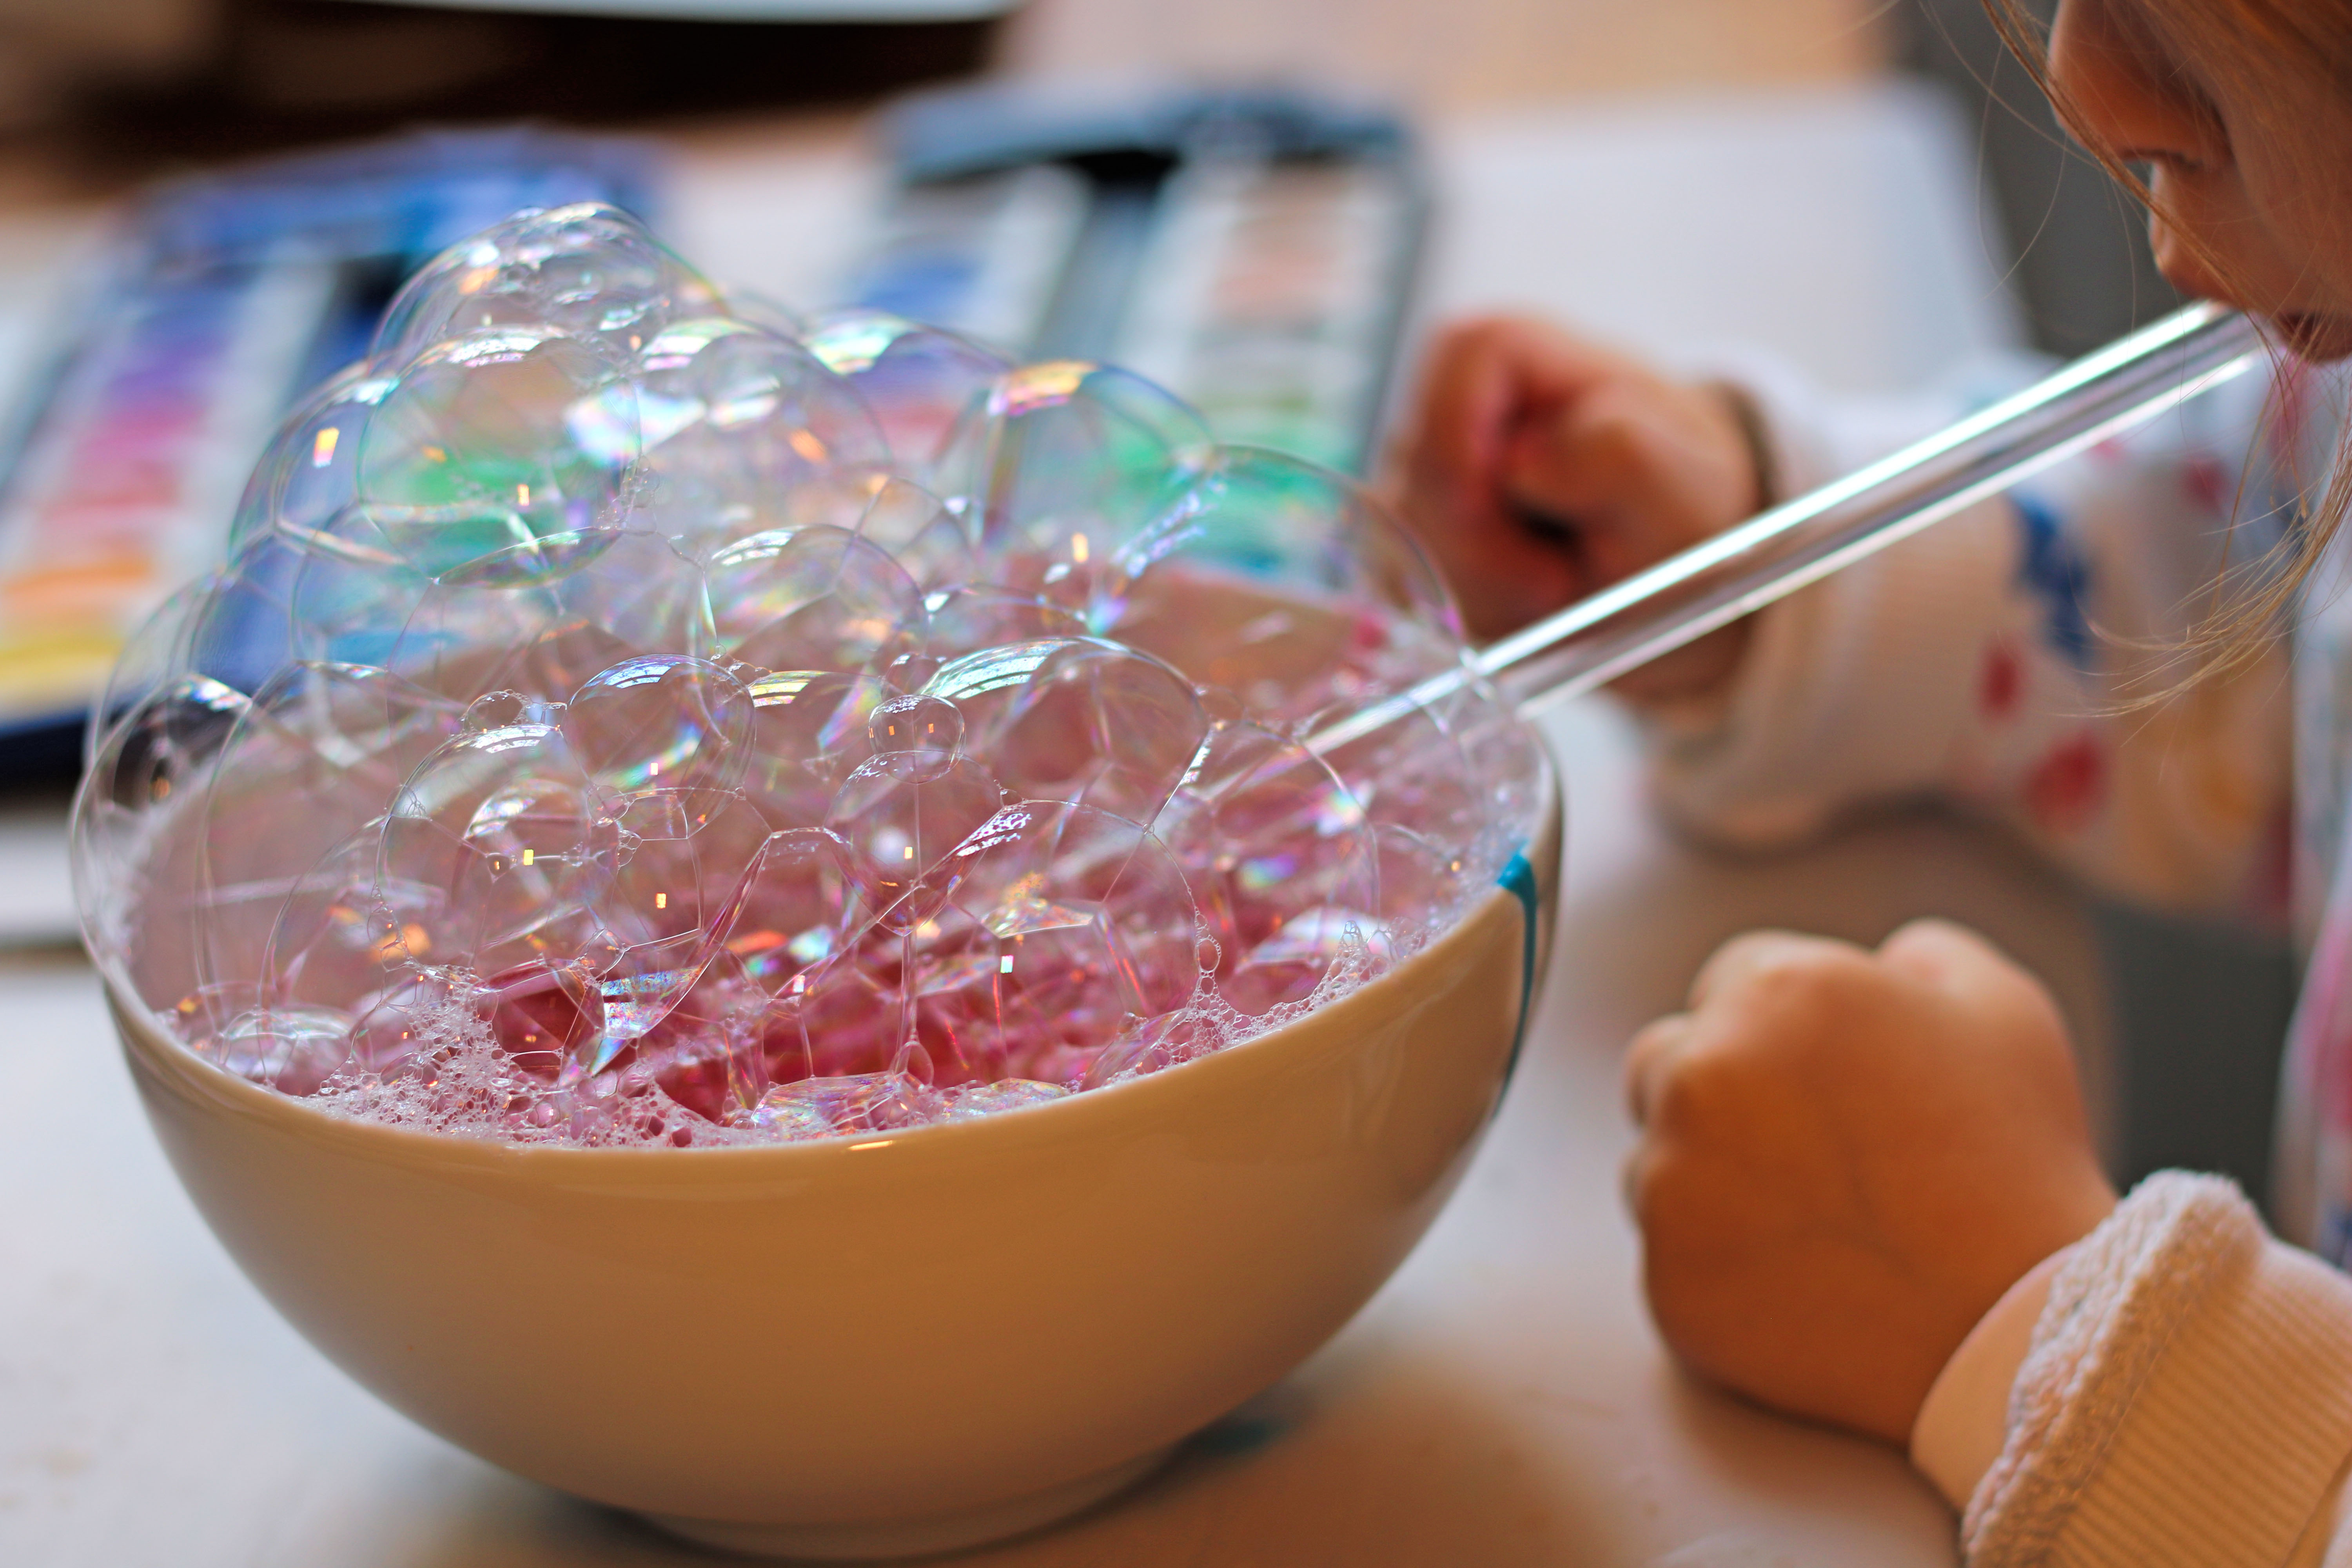
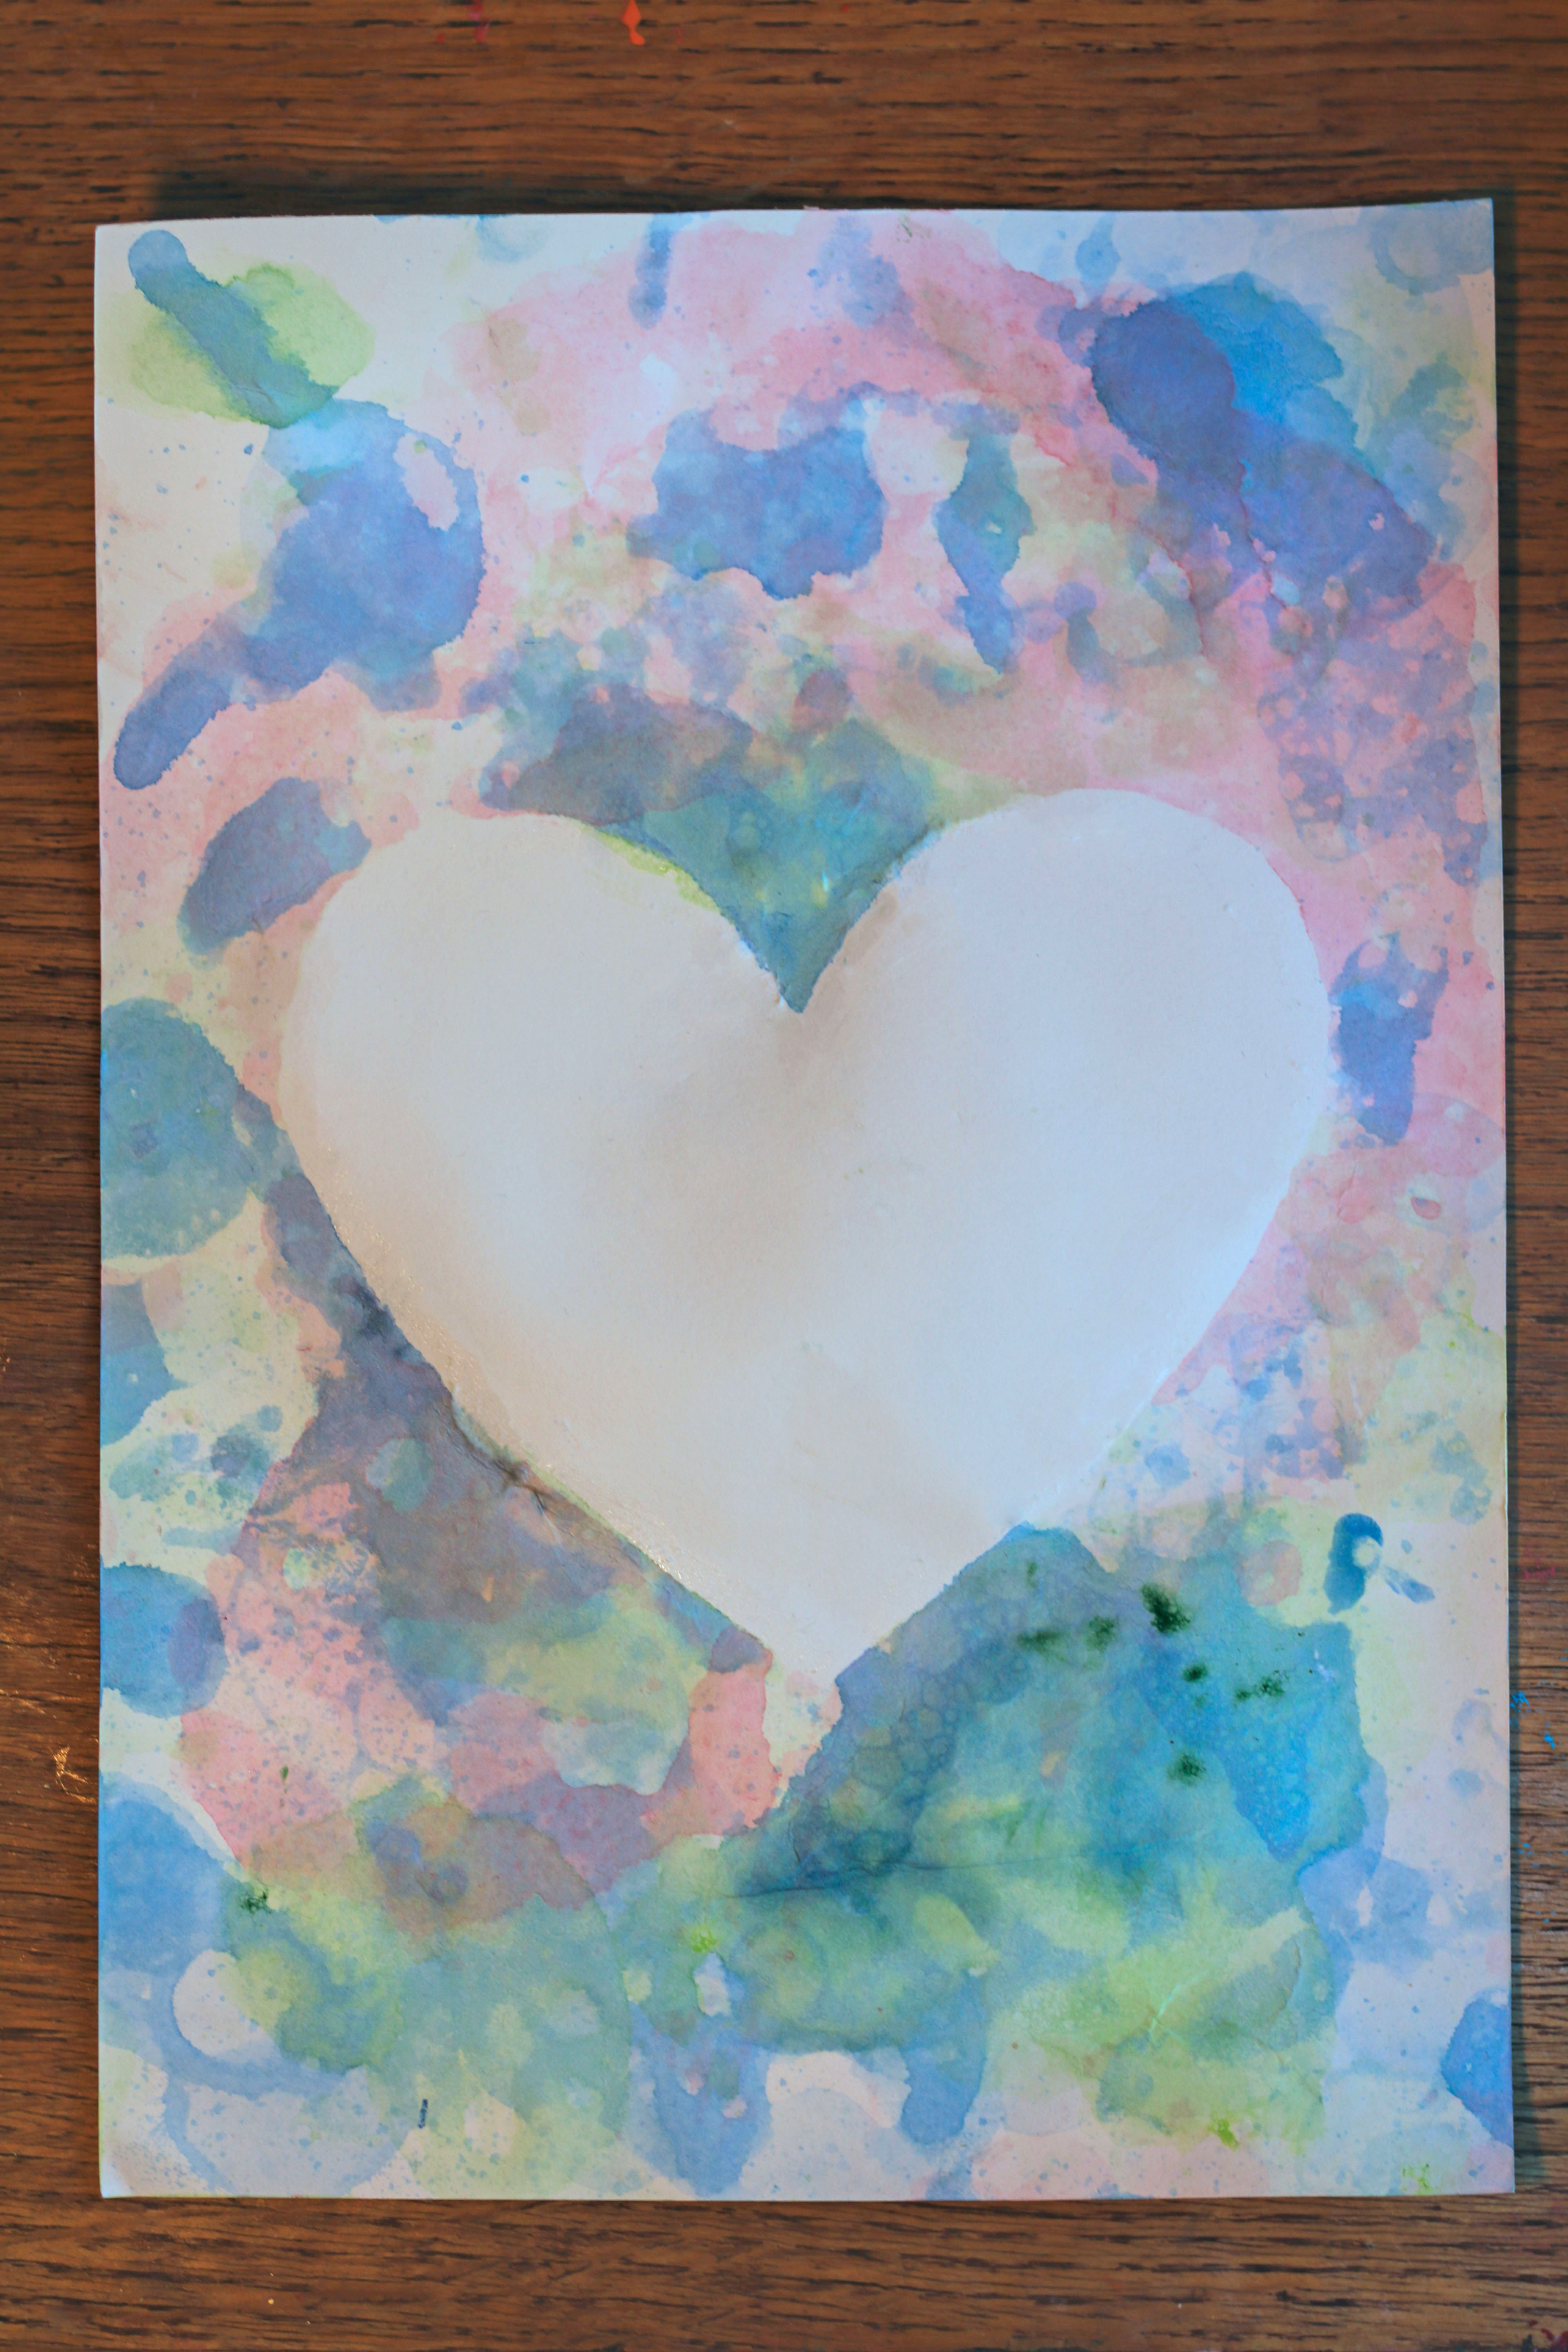
2. Bubble Art – Colorful Magic for Mom or Dad

Bubble art is a magical craft idea for young children. Just watching the colorful bubbles is fun—and when they turn into a work of art of their own, the joy is even greater. Children can experiment with colors, marvel at the results, and be creatively playful.
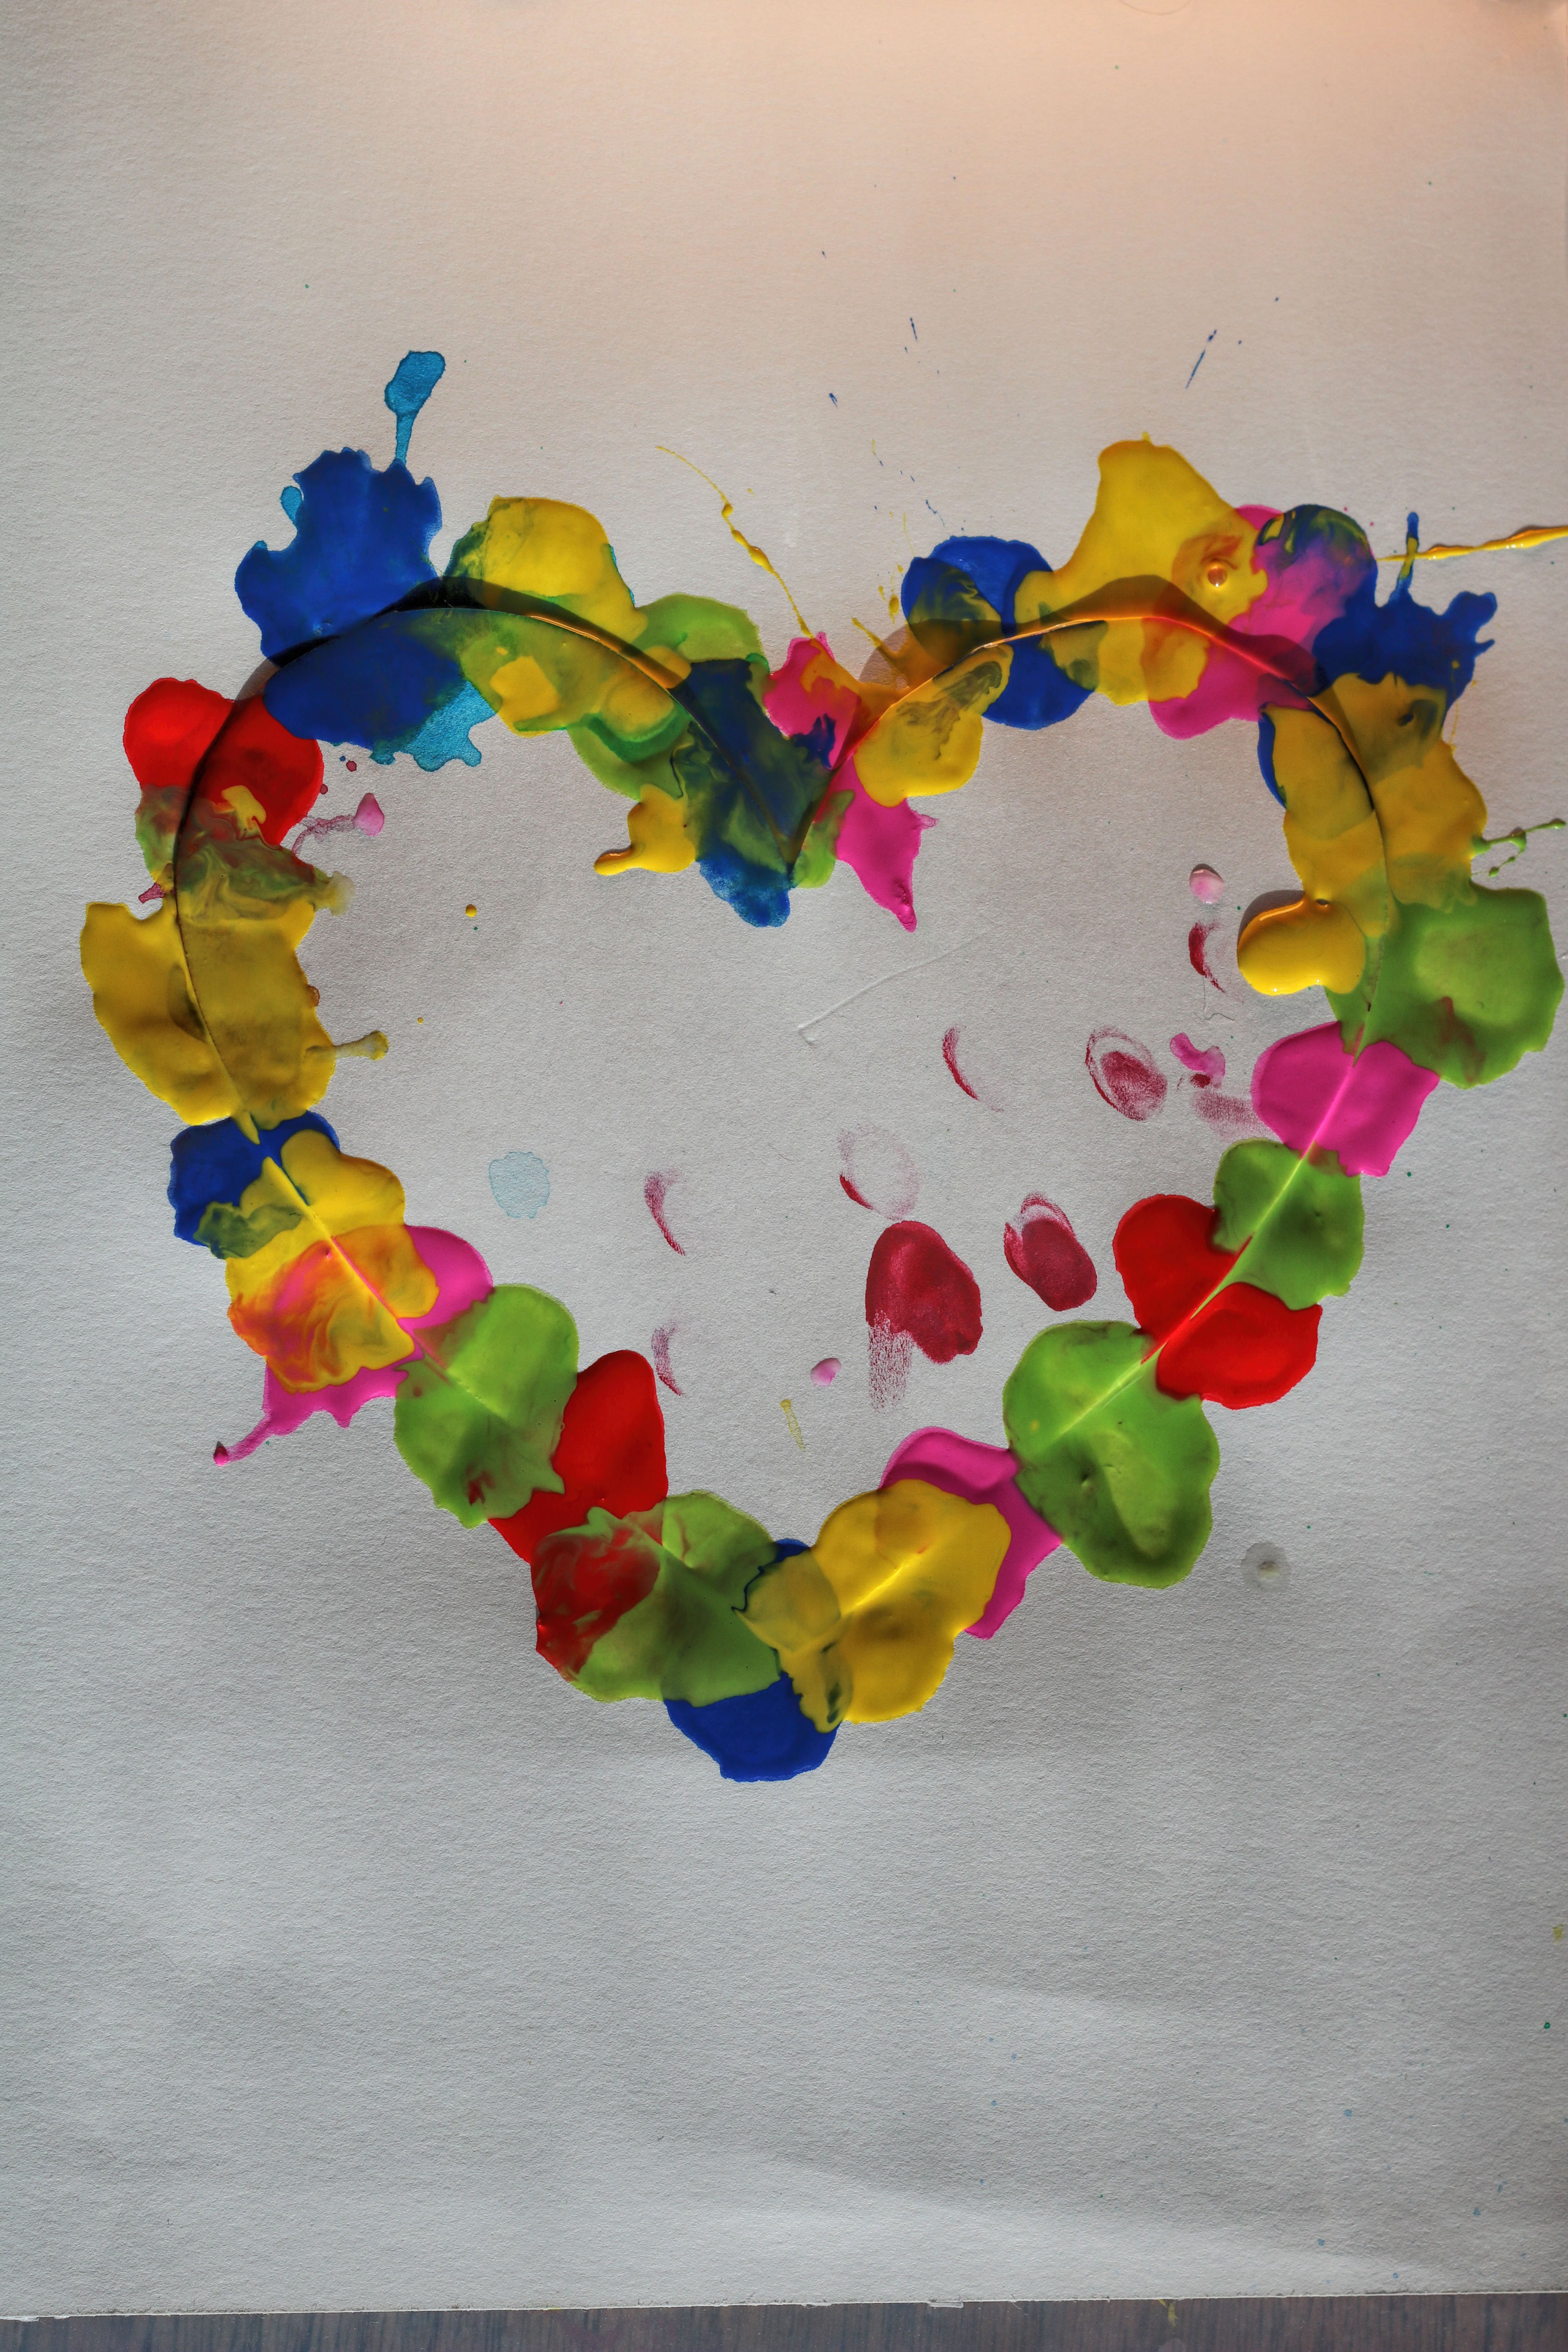
With watercolors, a little dish soap, and a bit of help, beautiful, delicate patterns emerge on the paper. Each picture is completely unique and comes to life through its random color gradients and delicate bubble trails.
Perfect for a fun afternoon of crafting—and a great way to create something truly special even with young children!
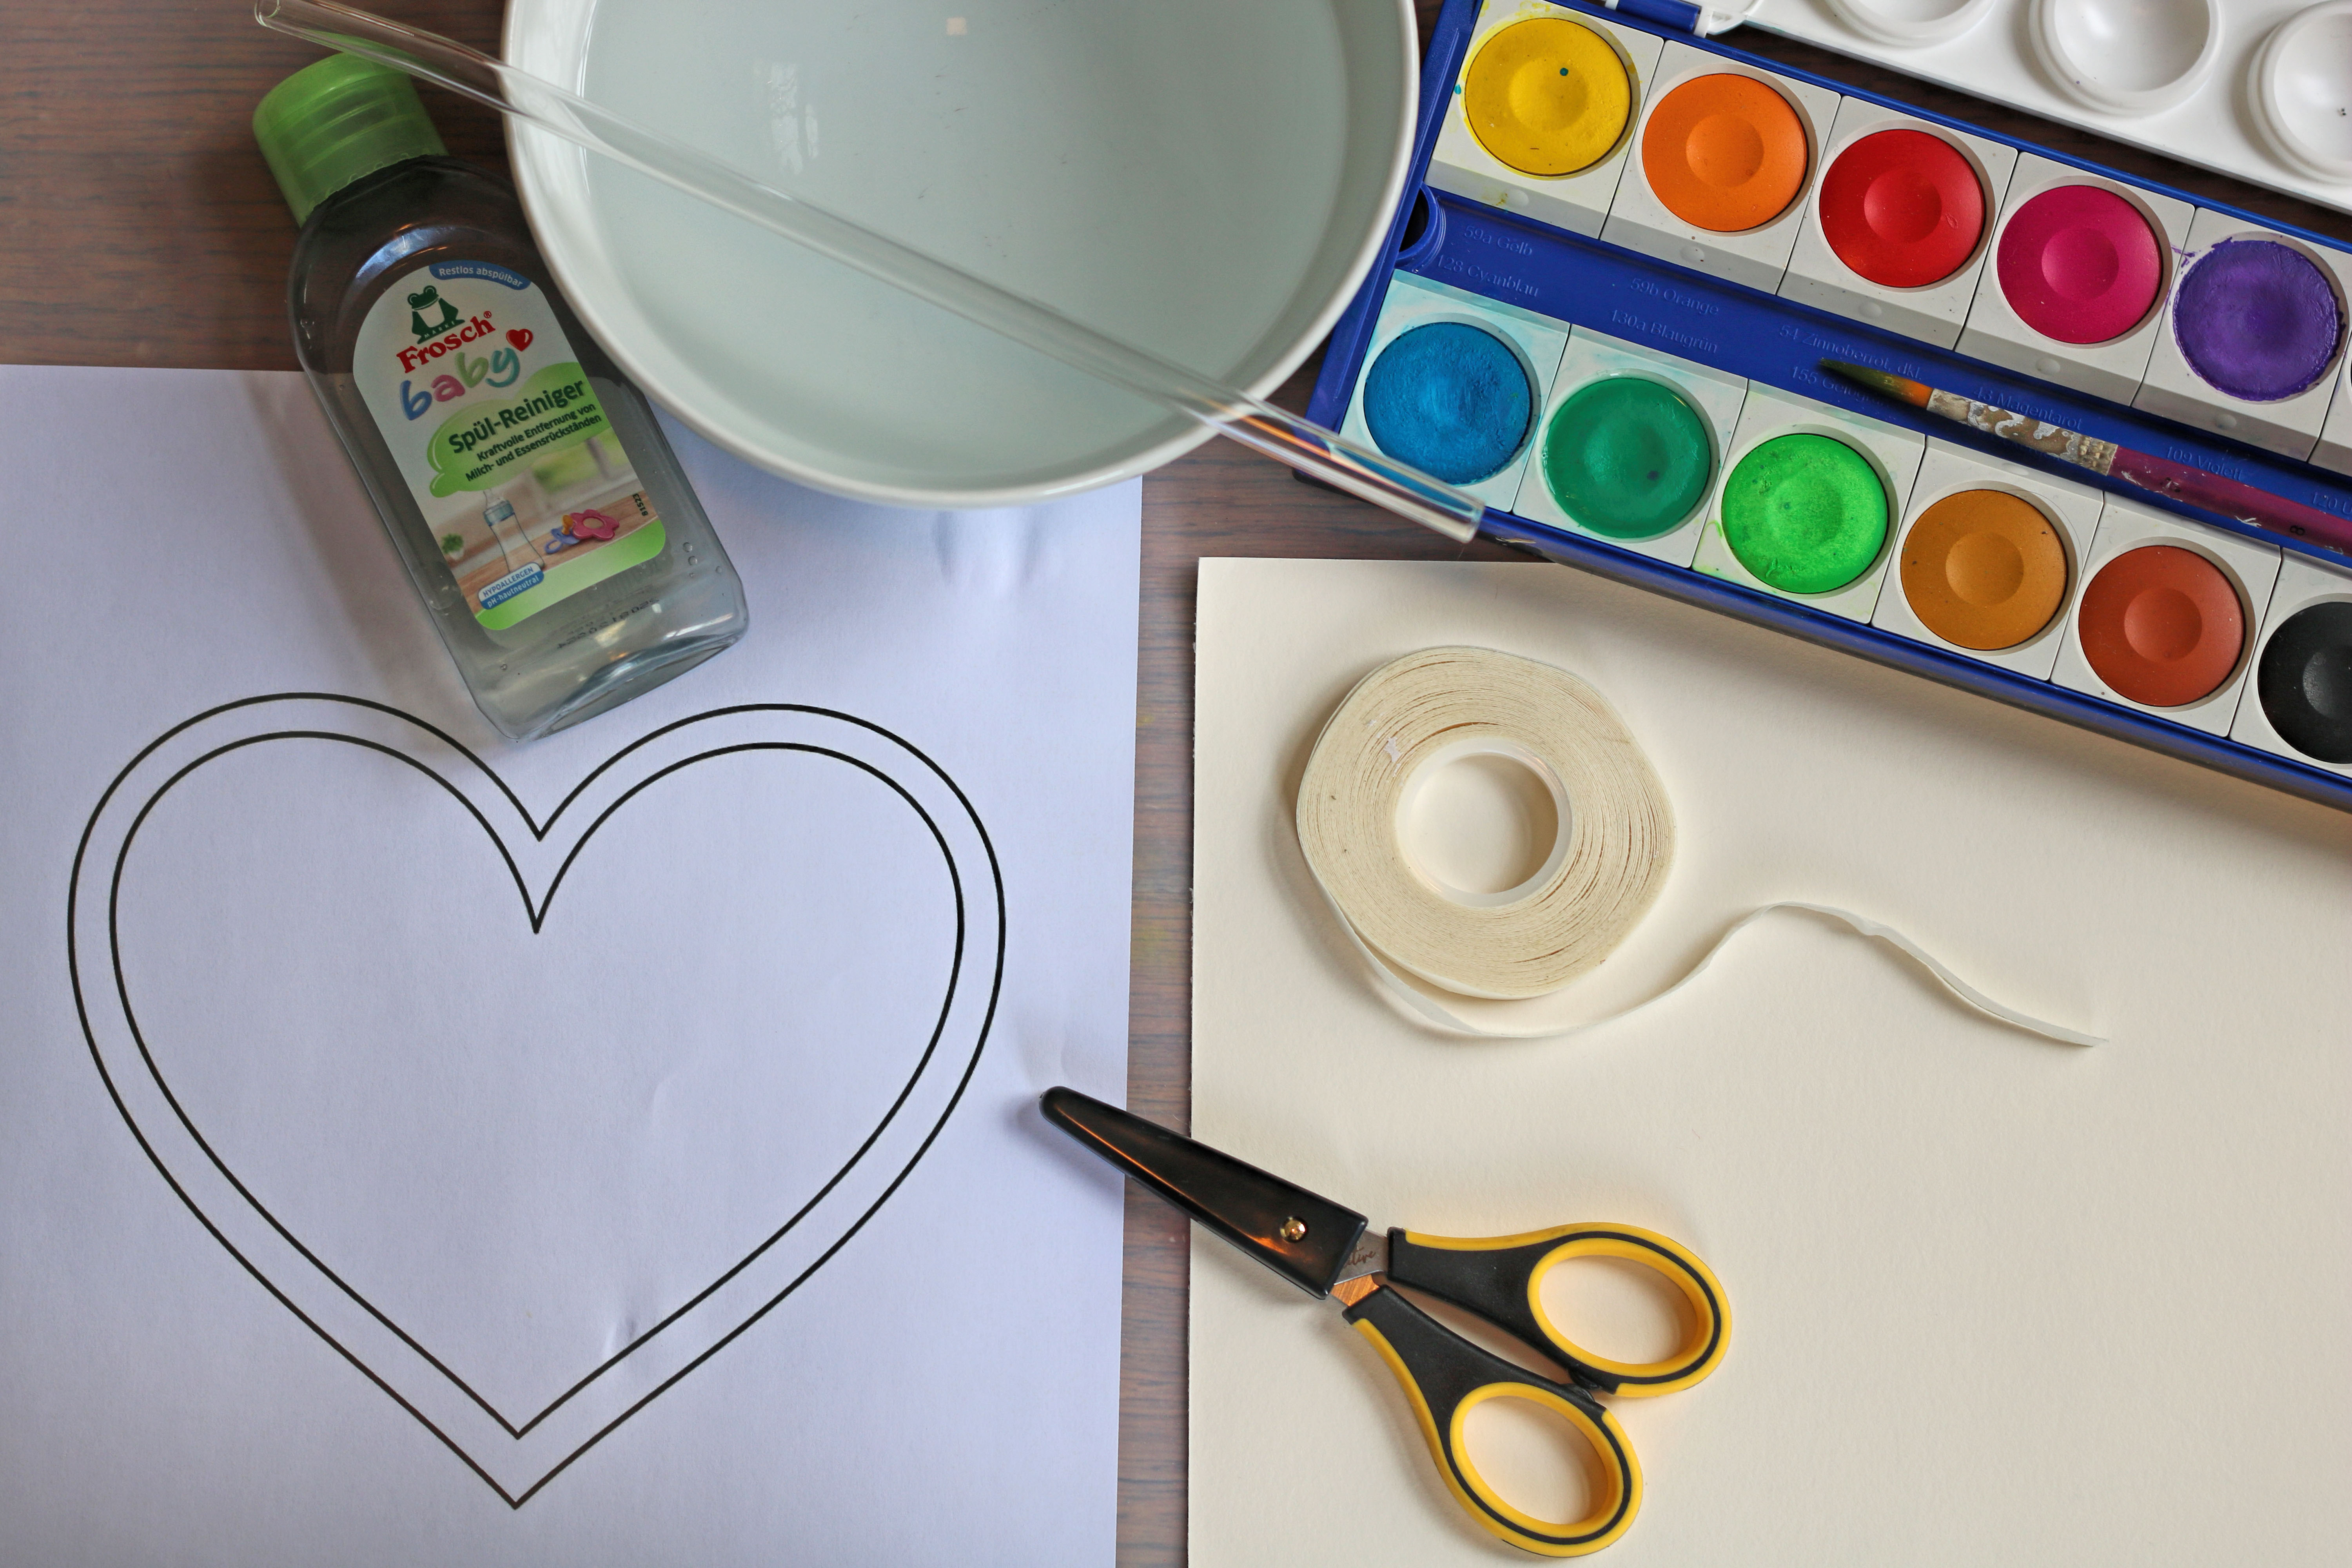
Here's what you'll need:
- construction paper
- Watercolors or finger paints to make the colors more vibrant
- Water
- Paintbrush
- Straws
- a little dish soap
- a small bowl
- We use a food-safe baking mat on our table.
- Protection for your child's clothes
- Wet wipes or water for cleaning
Affiliate links — we may receive a small commission, your price stays the same.

Here's how it works:
1. Attach the stencil:
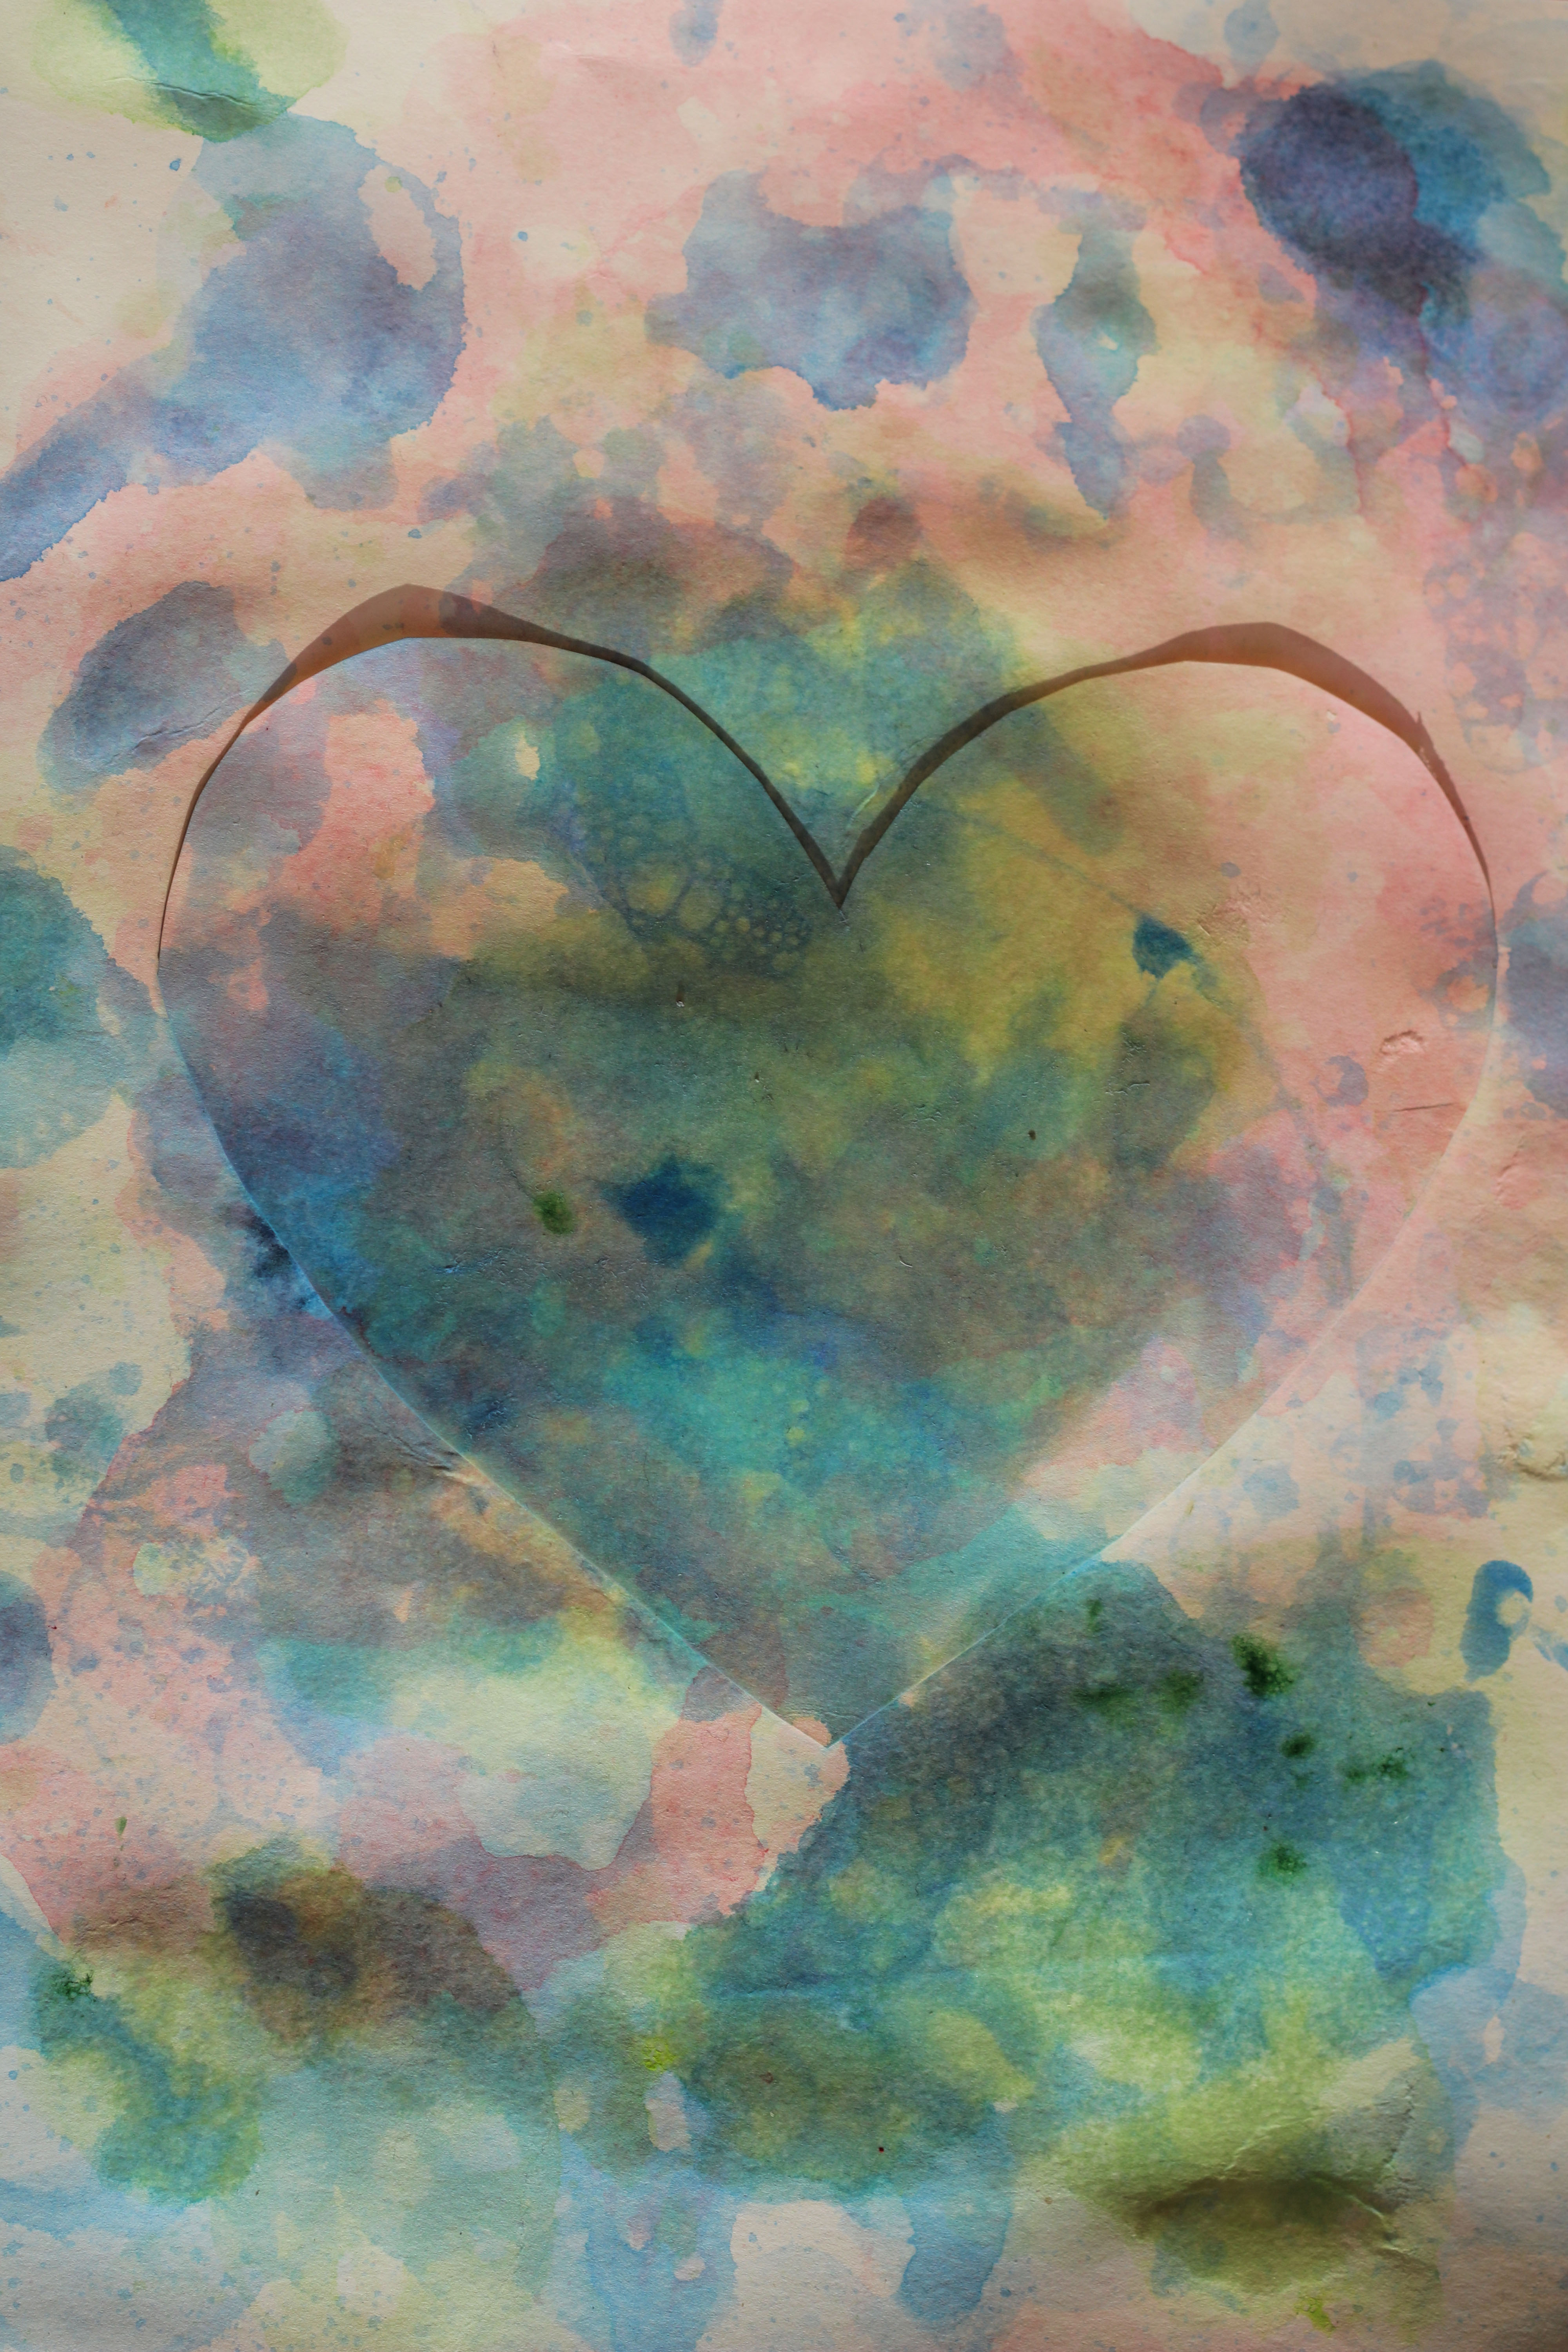
Before you begin, you can attach a heart or another design to the paper using removable double-sided tape. This keeps the shape intact while you create colorful soap bubble trails around it. When you carefully peel off the stencil at the end, the design stands out beautifully and the picture takes on a very special effect.
2. Prepare the colors: In small cups, mix watercolors
with a little water and add a small splash of dish soap to each cup, then stir the mixture. For older children, an adult can also add a small amount of sugar solution or paste. This often makes the soap bubbles a bit more stable, larger, and less likely to pop right away.
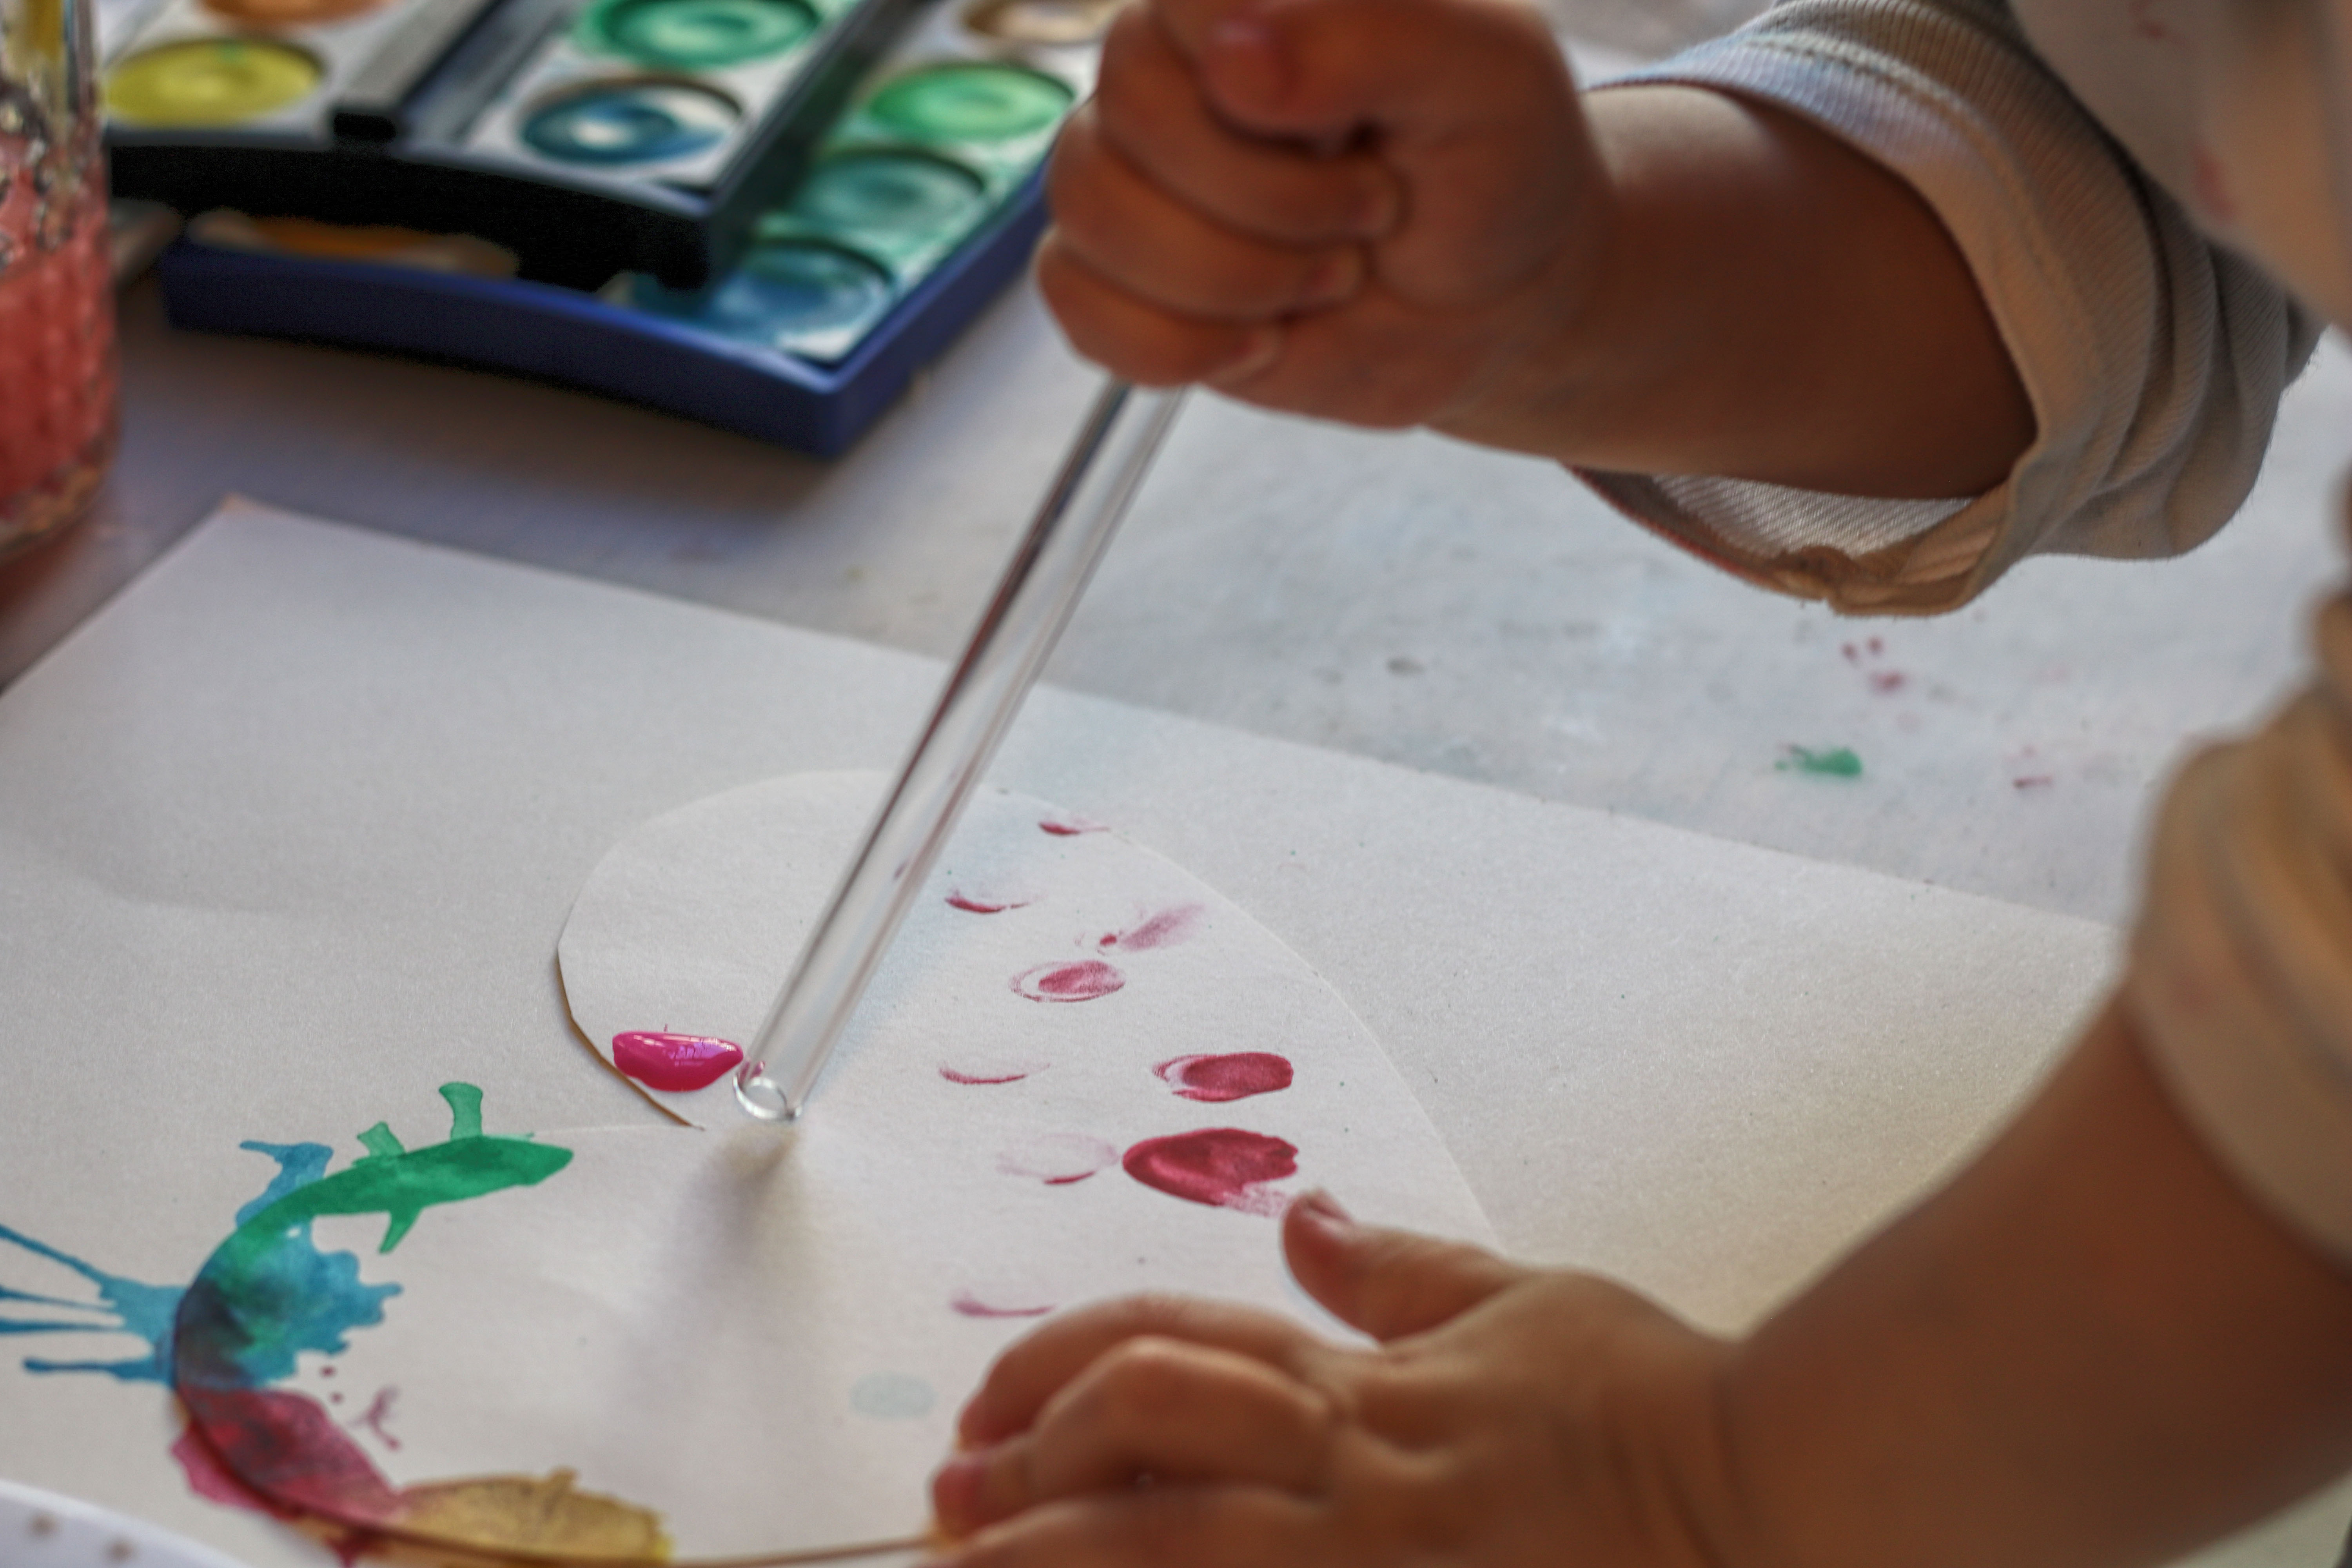
3. Demonstrate blowing:
Calmly show the child how to blow through the straw. It’s important to blow out, not suck in. Alternatively, a bubble wand can be used—preferably outdoors, because the colorful bubbles often fly in all directions, especially with young children.
4. Create bubbles:
Hold the straw over the colored mixture and blow gently into it until many colorful bubbles form above the cup.
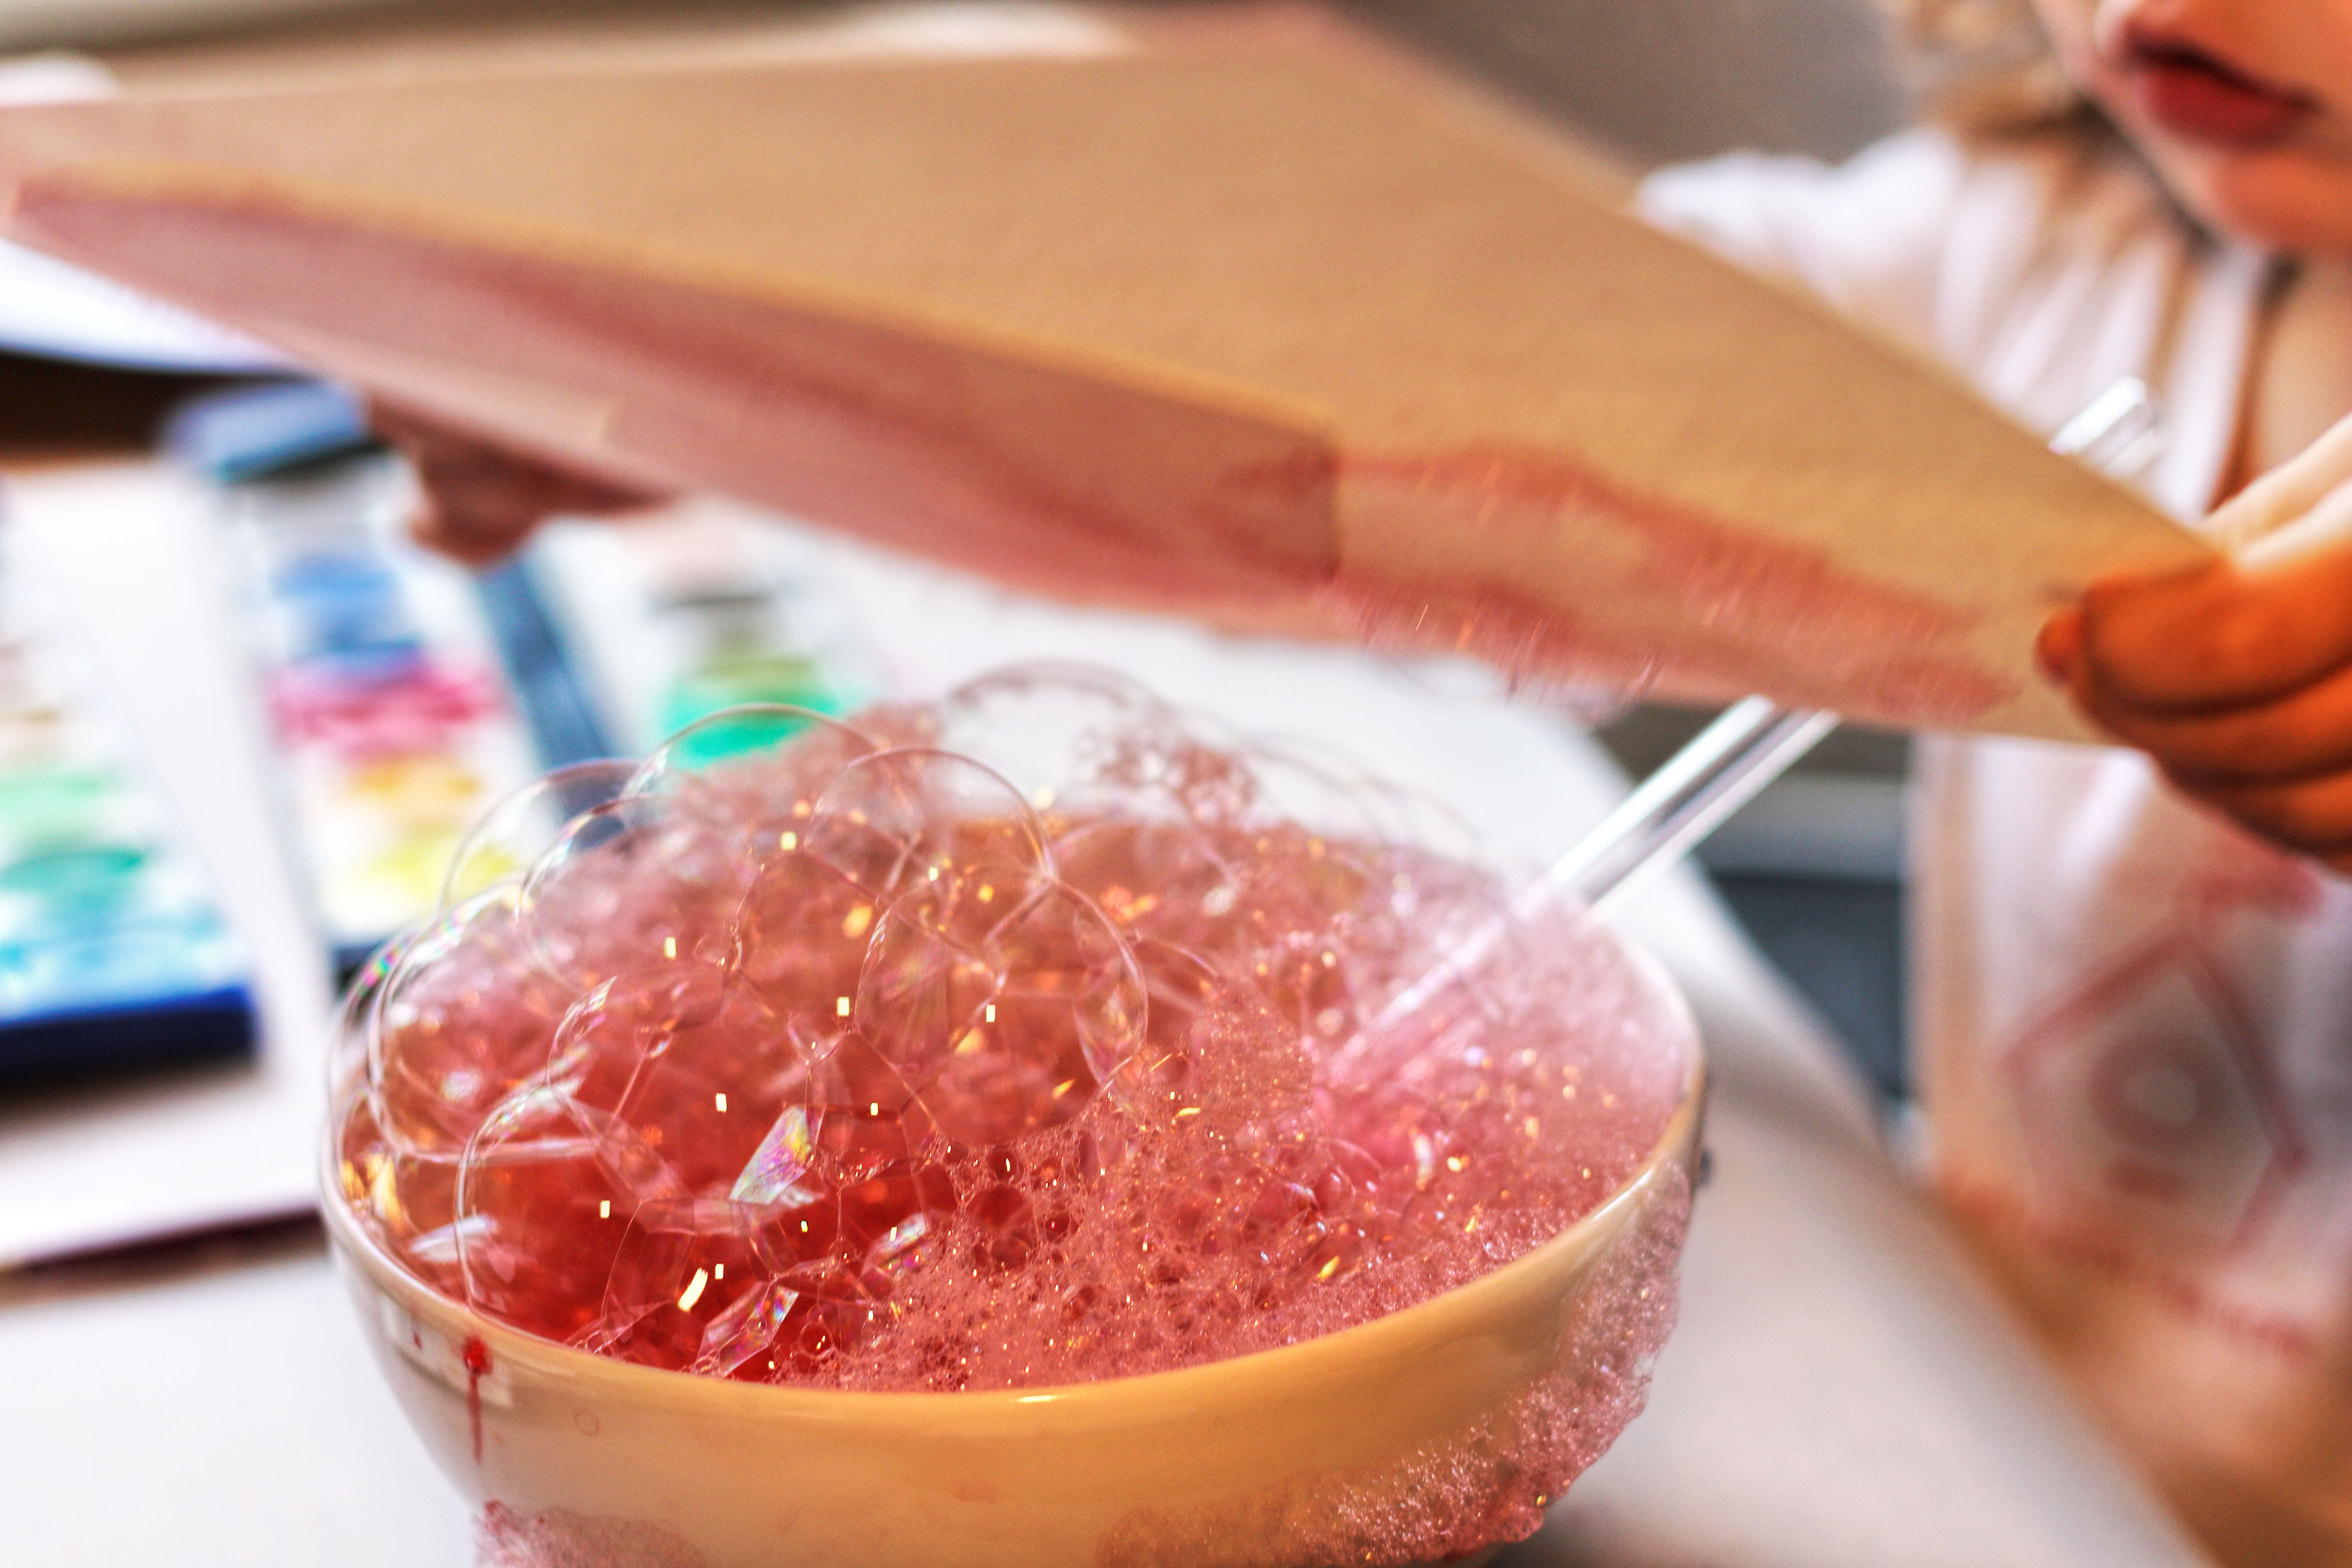
5. Place paper on top: Carefully
place a sheet of paper on top of the bubbles. As they pop, they leave beautiful, round color marks and delicate patterns. Repeat the process with different colors. The picture turns out especially beautiful when the colors overlap slightly.
6. Let it dry:
Set the finished picture aside to dry.
7. Carefully remove the stencil:
Once everything is completely dry, the stencil can be carefully peeled off. This leaves the heart or design light in color, while the image around it shines brightly in color.
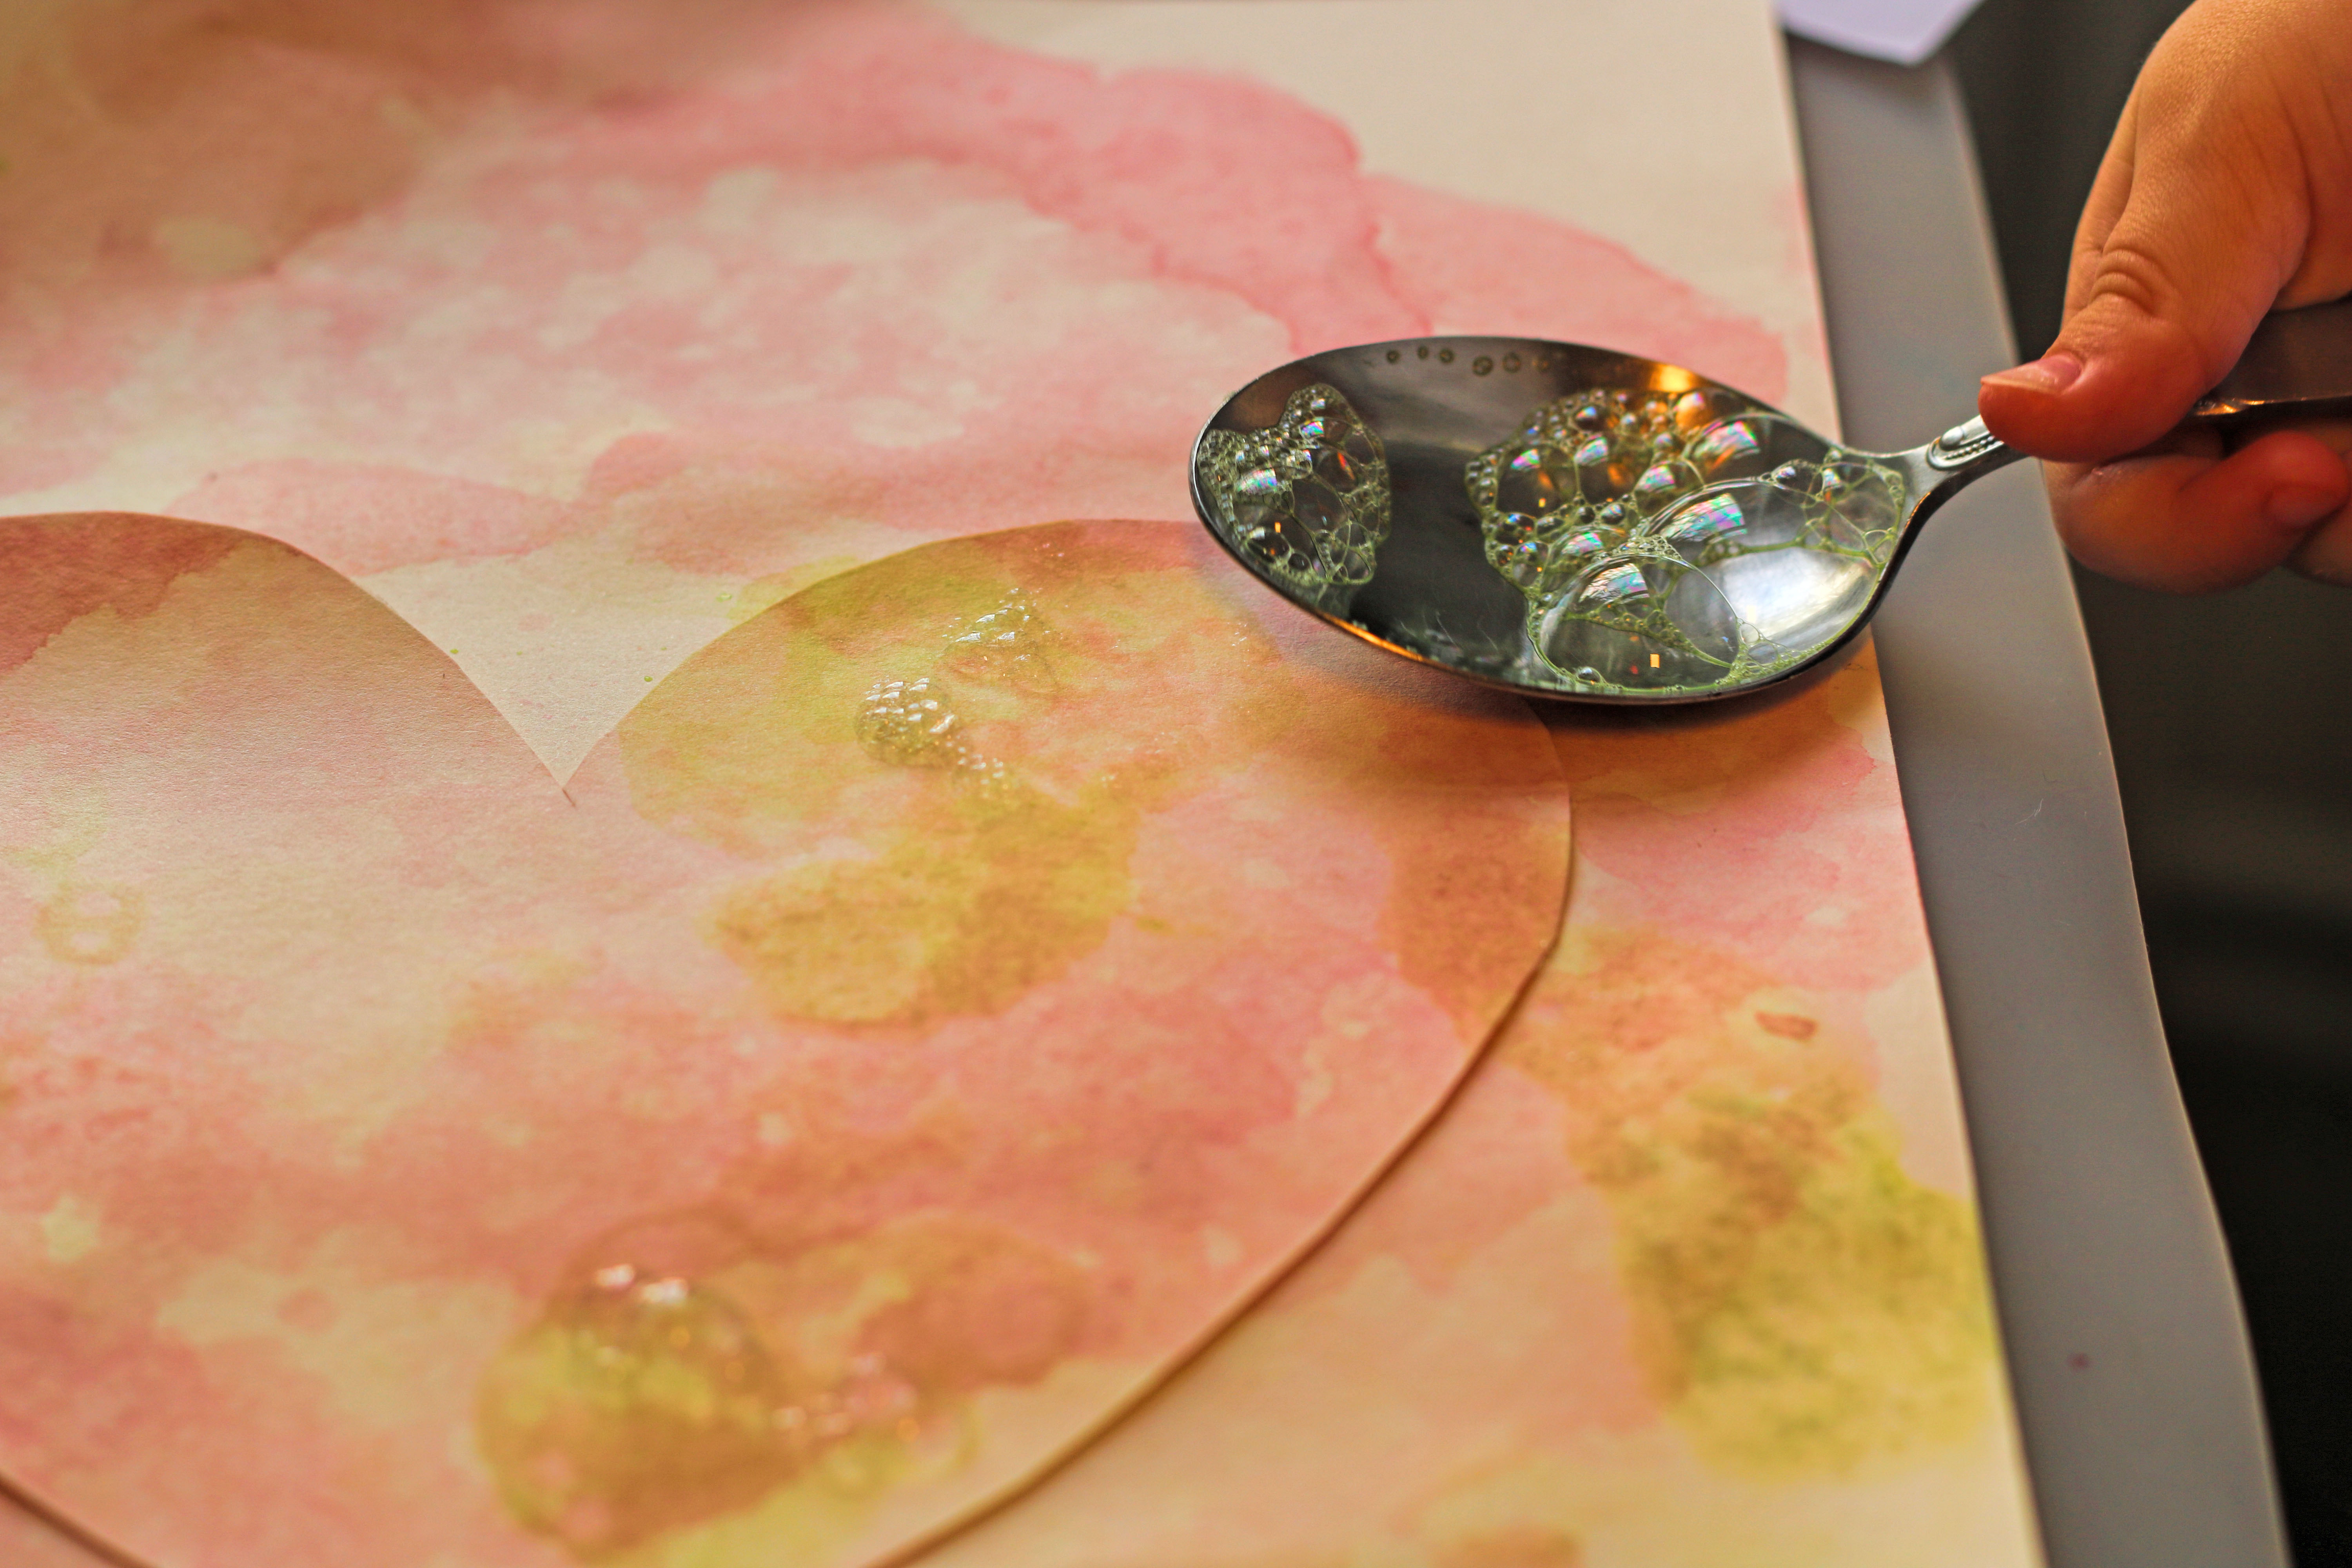
Alternative for younger children ages 2 and up
Not every young child can blow through a straw very well yet. That’s perfectly fine—you can still create beautiful soap bubble pictures without blowing yourself.
Here’s how:
1. Mix the paint and create foam:
Prepare the watercolors as described above with water and a little dish soap. An adult blows on the mixture or gently whips it into foam with a small whisk.
2. Place the foam on the paper and spread it out: Use a
spoon to place the colorful foam onto the paper.
The child can gently dab, press, or spread the foam.
3. Let it dry:
Once dry, soft, colorful marks and very special patterns remain.
3. Flowers with Toilet Paper Rolls
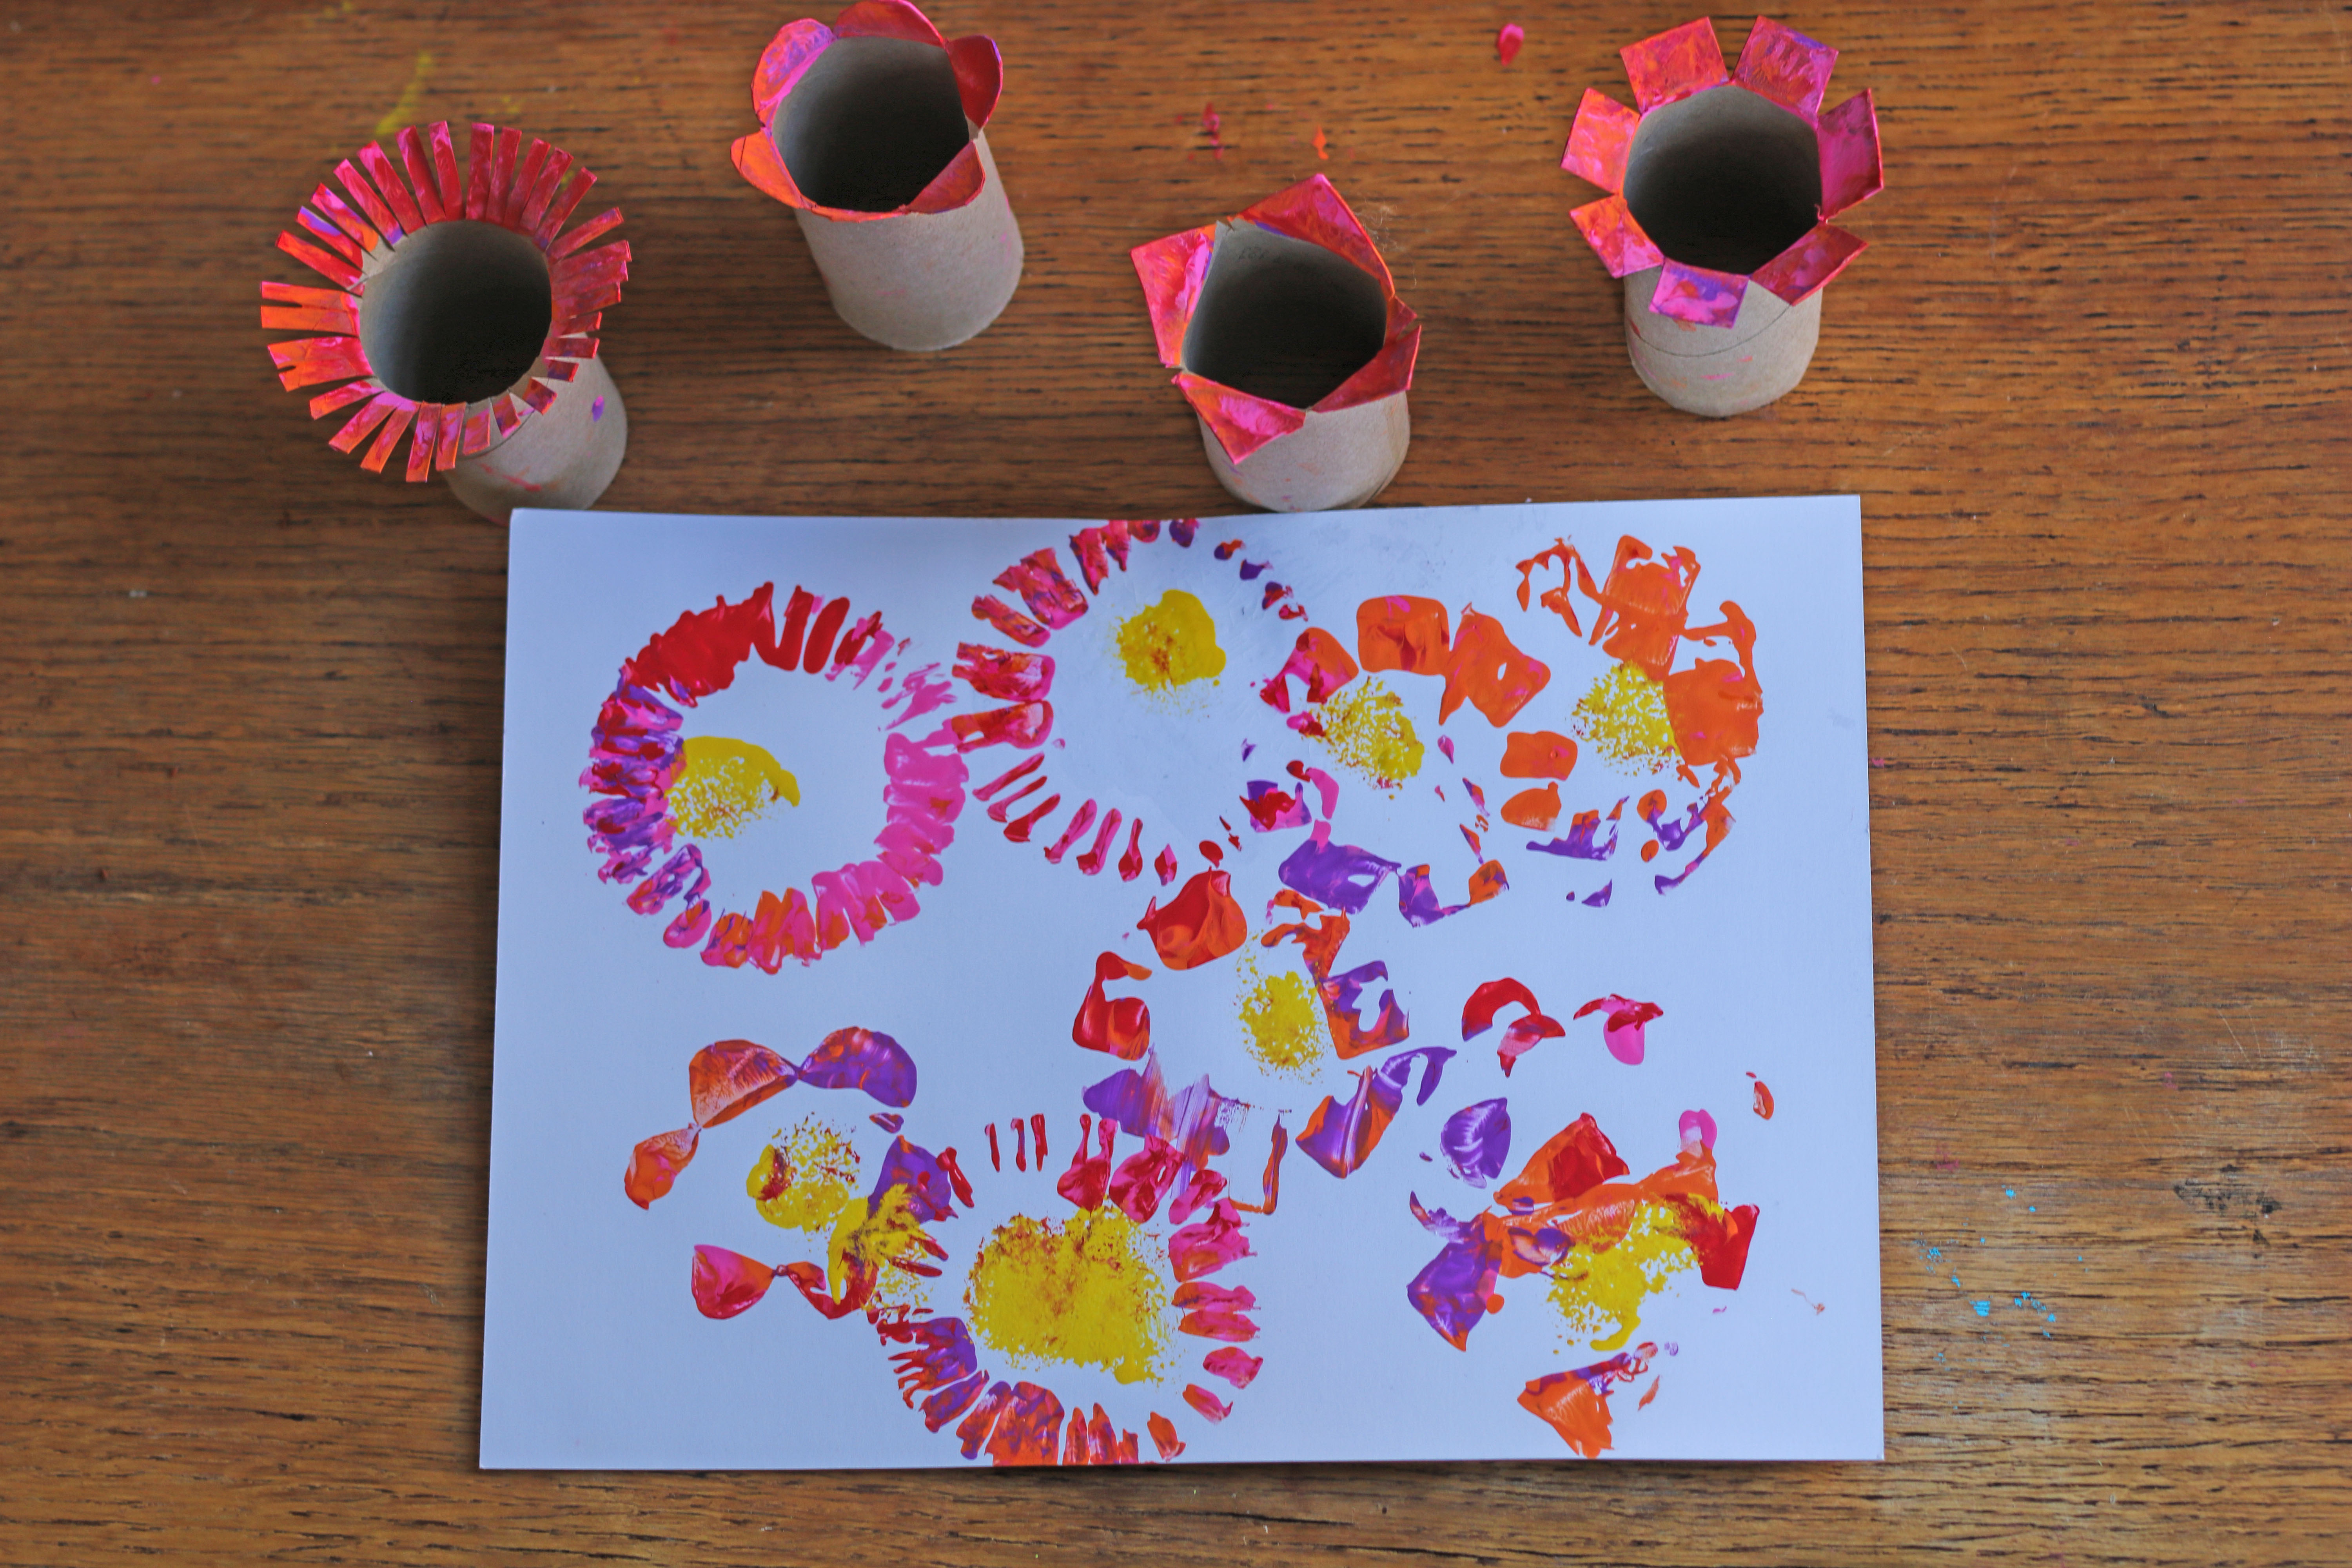

You can easily stamp beautiful flower patterns using cut-up toilet paper rolls. Even young children have a lot of fun dipping the flowers in paint and creating colorful images on the paper.
Perfect for a fun afternoon of crafting and a beautiful bouquet of flowers that lasts a long time.
Here's what you'll need:
- Toilet paper rolls
- Craft scissors for adults
- from 1 to 2 years
- ages 2 and up
- Finger paint in the colors of your choice:
- Plates or shallow bowls for the paints
- construction paper
- A pom-pom, small sponge, or something similar for dabbing
- Optional: A brush for stems, leaves, or a vase
- Surface (we use a food-safe one)
Affiliate links — we may receive a small commission, your price stays the same.


Here's how it works:
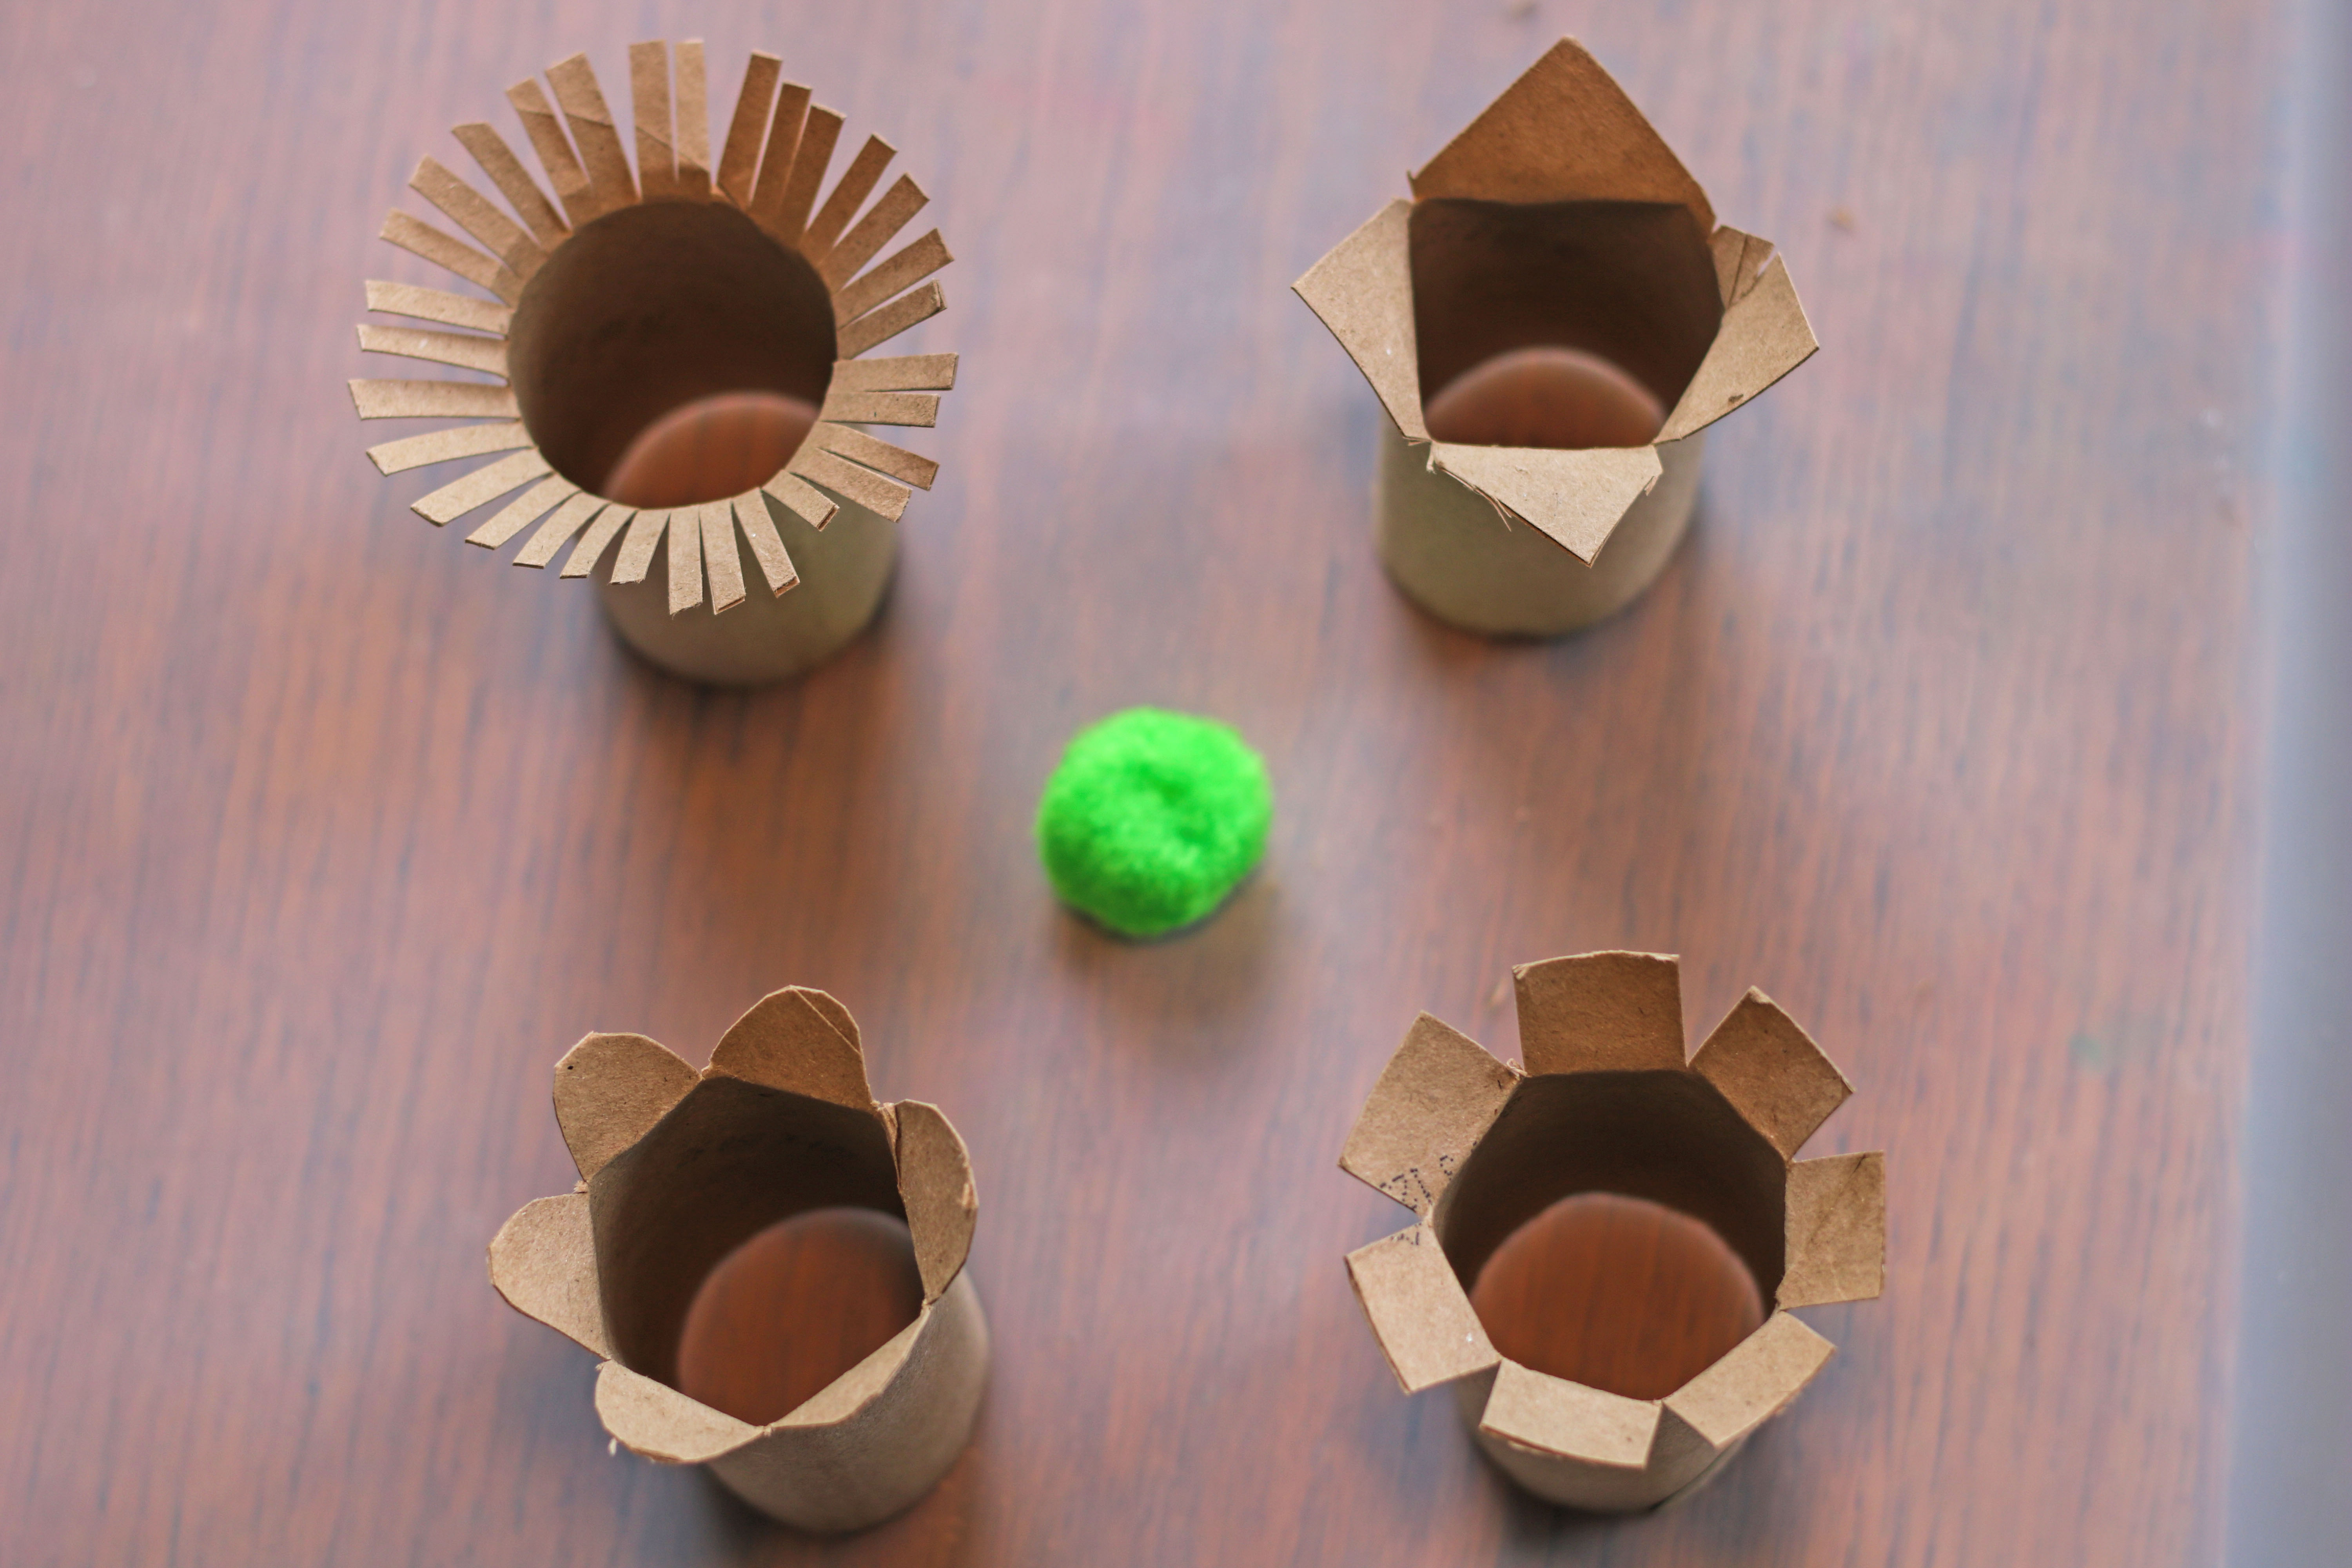
1. Prepare the roll:
Make several cuts at the top of the toilet paper roll and gently bend the strips outward. You can cut the individual petals into different shapes and widths—this creates a beautiful flower shape.
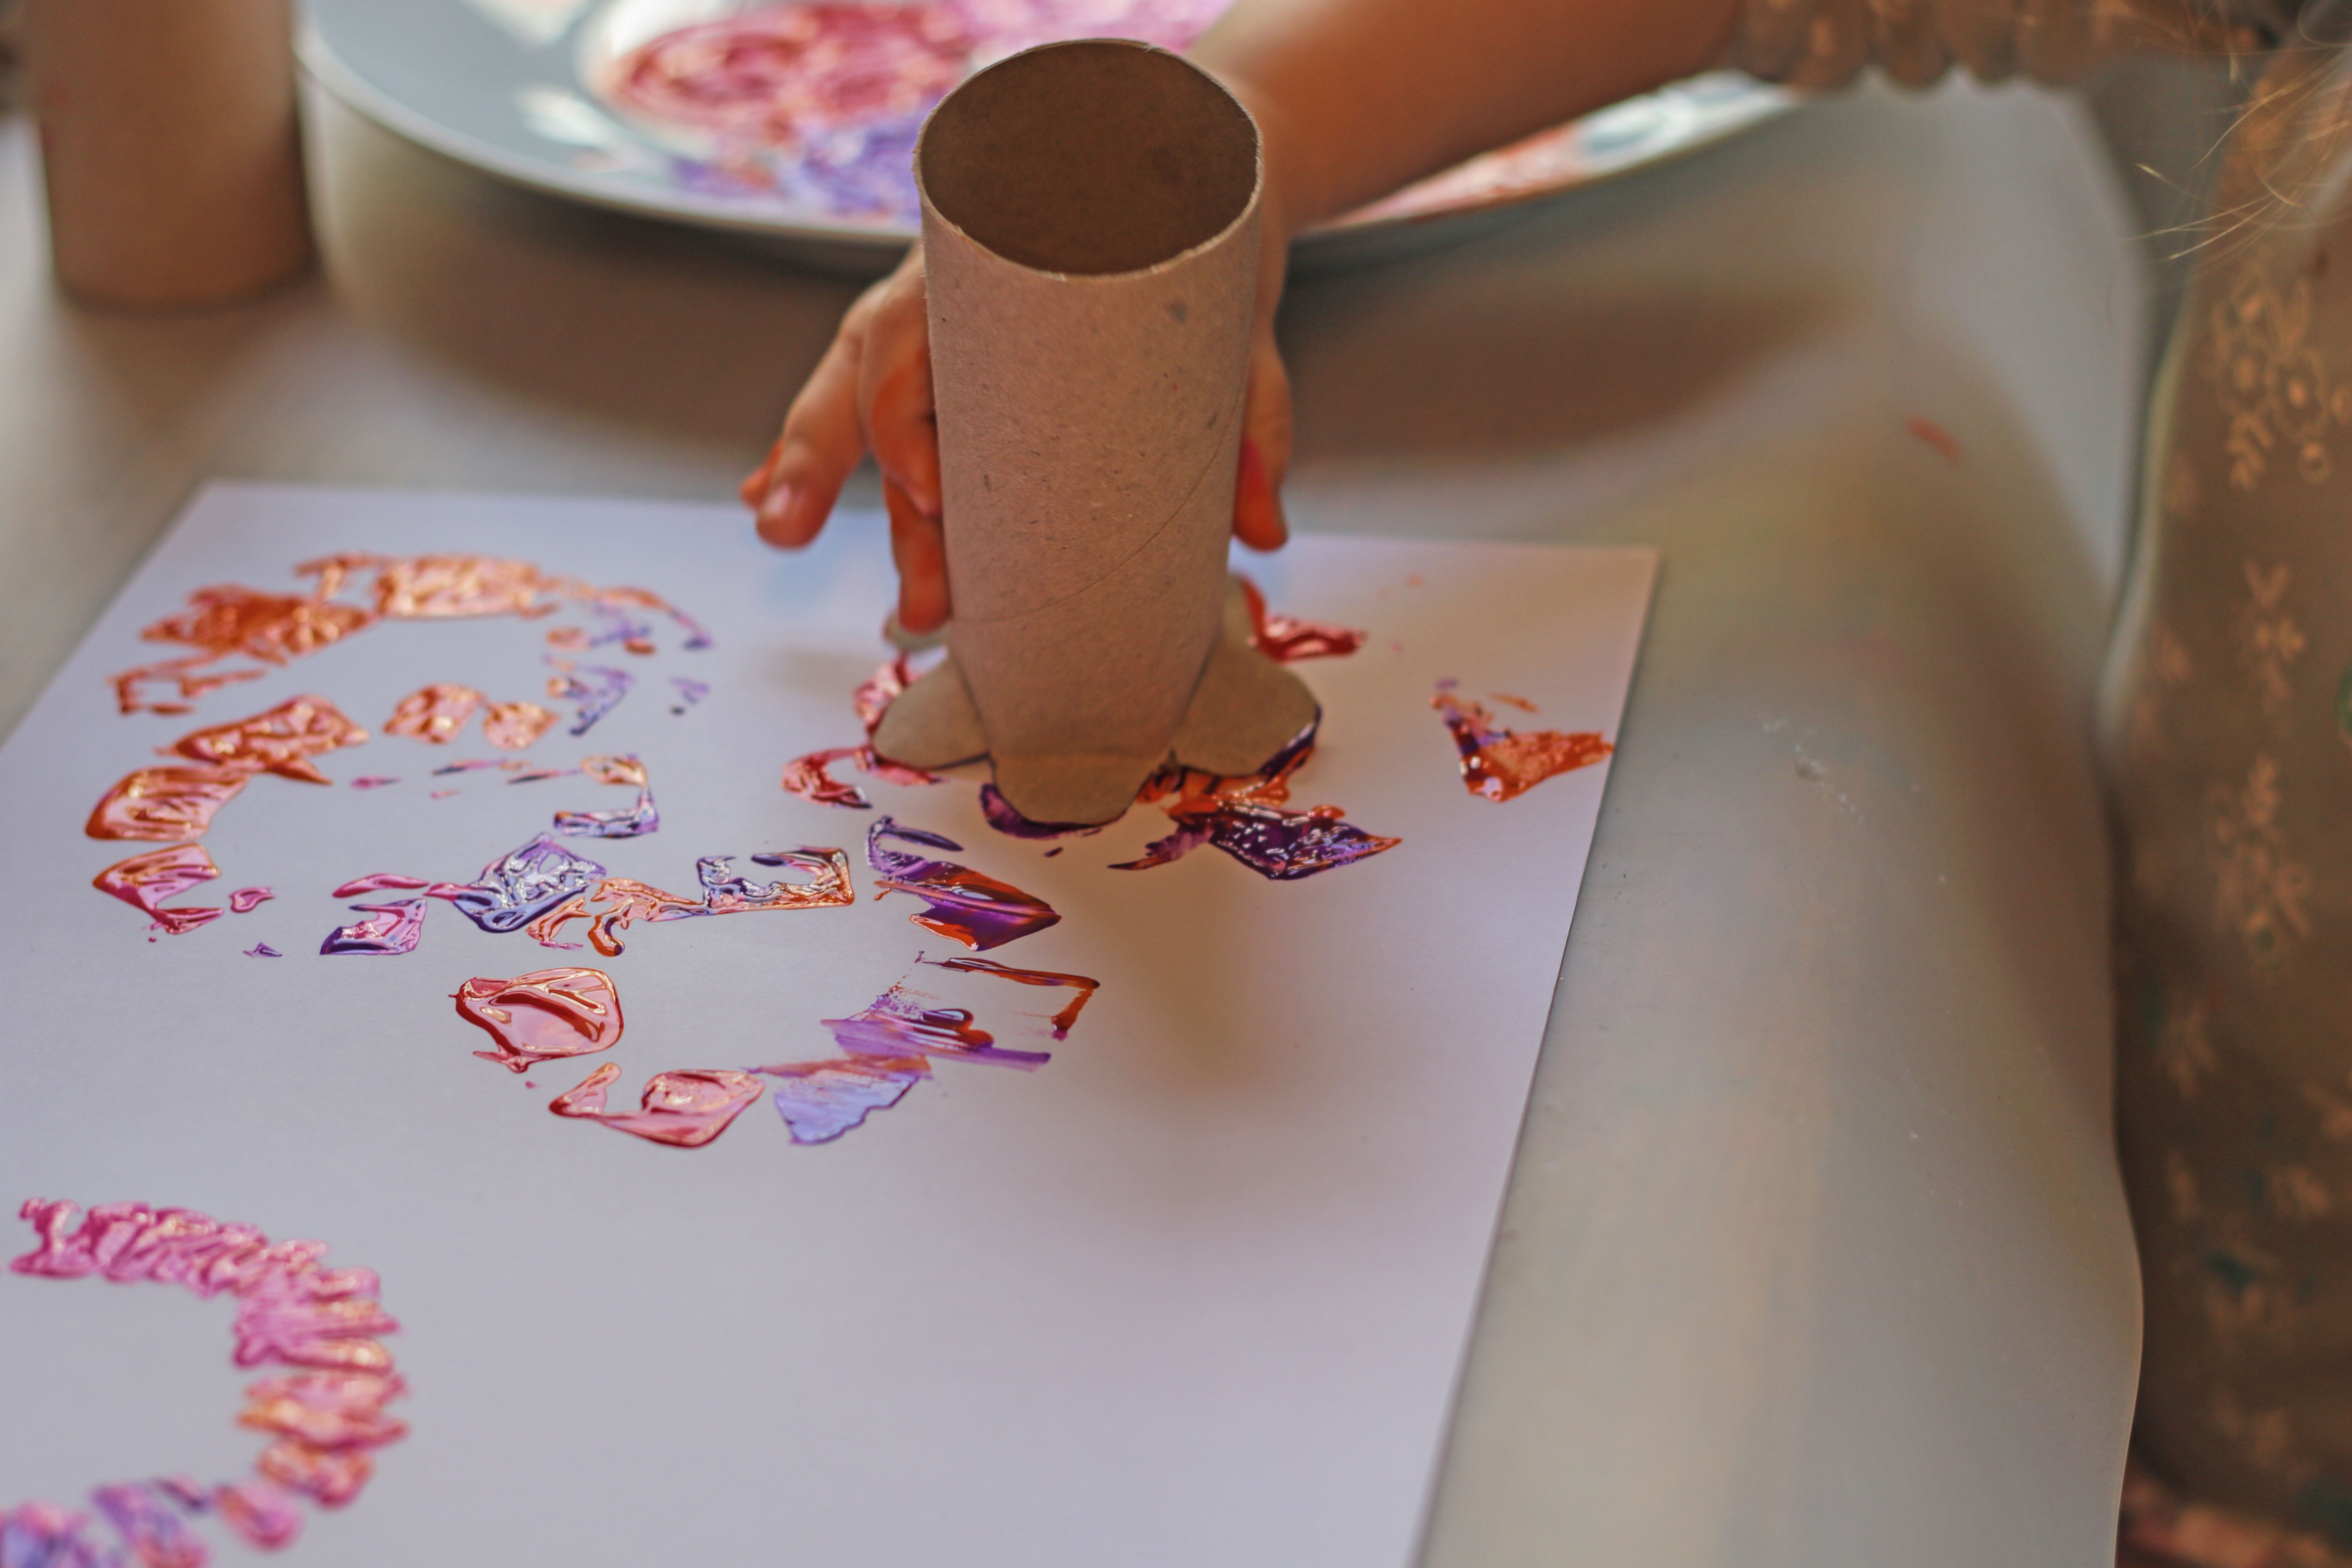
2. Get the paints ready:
Place the finger paints on a plate or in a shallow bowl so the roll can be easily dipped into the paint. Then your child can start printing right away.
3. Create the picture:
Younger children can stamp freely and even place several flowers on top of each other. Older children may be able to arrange the flowers more deliberately and even create a small bouquet.
4. Dab the center of the flowers:
The center of the flowers can be dabbed with a pom-pom, a small sponge, or something similar. If desired, add stems, leaves, or a vase later.
5. Let it dry:
Finally, let the picture dry thoroughly and enjoy the colorful result together. These can also be used to make beautiful cards.
This craft project is all about having fun experimenting and exploring colors. Especially with young children, let the flowers take shape freely and playfully—and that’s exactly what makes the final picture so special.